You might think that water damage is just a temporary setback, but the reality is far more complex. If not managed properly, it can lead to mold growth, structural issues, and costly repairs. Understanding the steps you need to take immediately after an incident is essential for effective recovery. Knowing what to do can make a significant difference in the outcome, so let’s explore the top tips for post-water damage care.
Key Takeaways
Turn off electricity and gas immediately to ensure safety before starting any water extraction or restoration process.
Document all damage with clear photos and lists to support insurance claims and facilitate repairs.
Use proper equipment like wet vacuums and dehumidifiers to effectively remove water and reduce moisture levels.
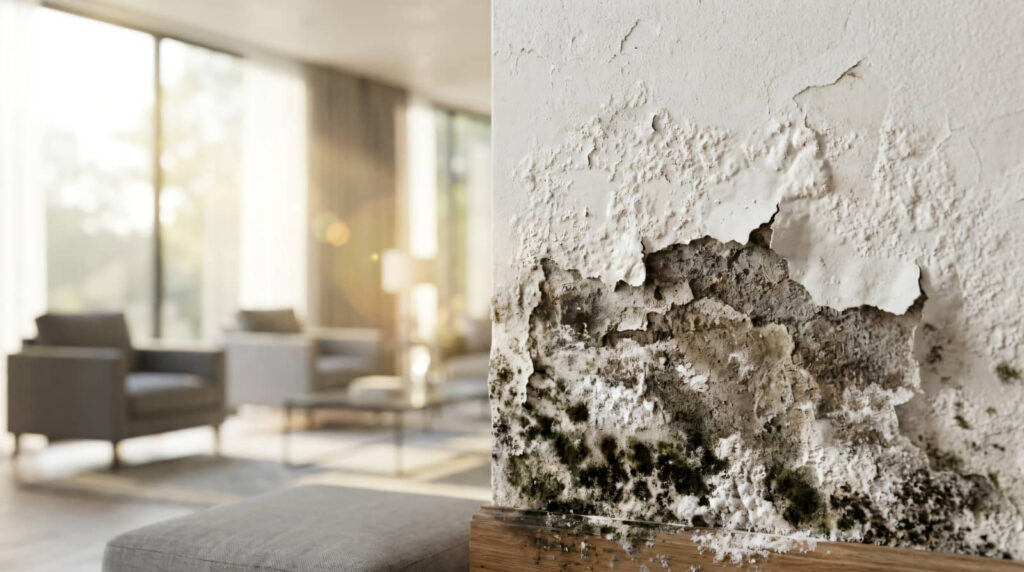
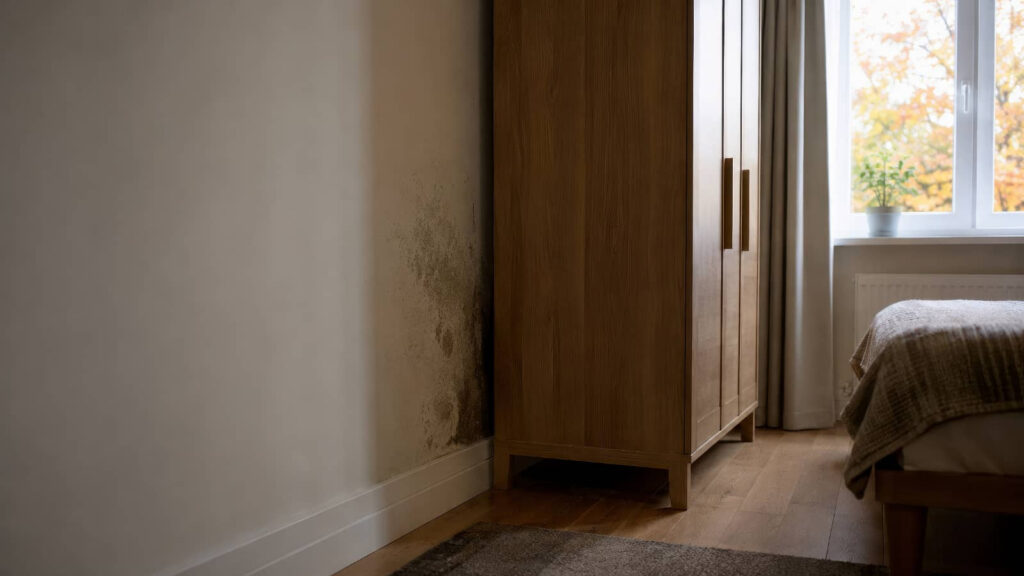
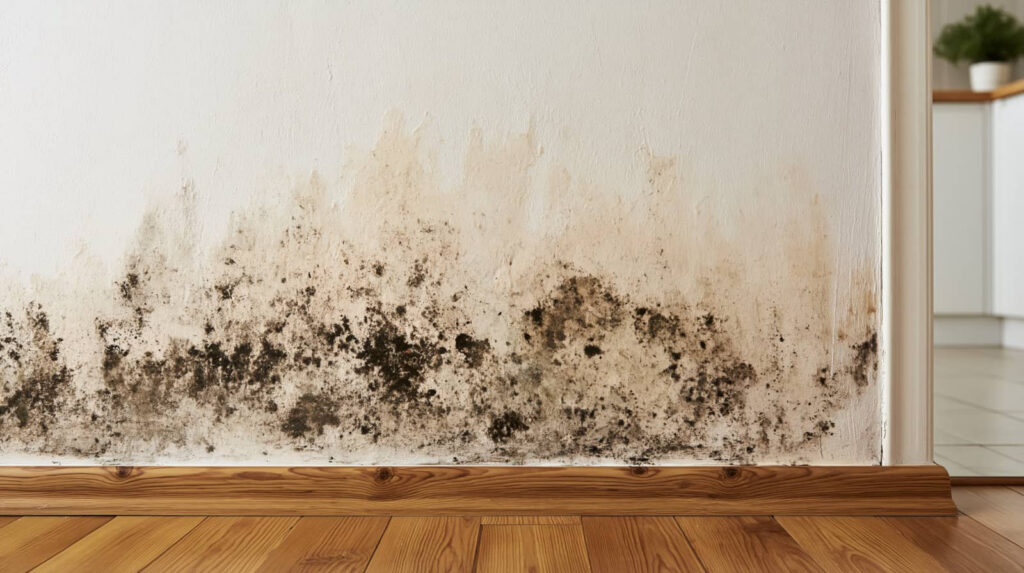
Look for signs of mold growth, such as dark spots or musty odors, and monitor for health symptoms related to mold exposure.
Prioritize salvaging sentimental items and consult professionals for comprehensive restoration and repairs to prevent further damage.
What To Do Immediately After Water Damage?
When you experience water damage, it’s essential to act quickly to minimize further complications.
Start by ensuring your safety; turn off the electricity if it’s safe to do so. Next, employ effective water extraction techniques. Use a wet/dry vacuum to remove standing water, or call professionals who specialize in this process. Time is critical, so don’t delay.
After extraction, thoroughly dry the affected areas using fans and dehumidifiers. This helps prevent mold growth, a common issue post-water damage.
Remember these emergency response tips: document the damage with photos and make a list of affected items. Acting swiftly not only protects your space but also fosters a sense of community and support as you navigate this challenging situation.
Keep Track Of Everything For Your Insurance Claim
To successfully navigate your insurance claim, it’s essential to document all damages thoroughly.
Keep all receipts and invoices related to repairs and replacements, as these will support your case.
Additionally, take regular photos to visually capture the extent of the damage, ensuring you have detailed evidence for your claim.
Document All Damages Thoroughly
Documenting all damages thoroughly is essential for ensuring that your insurance claim is processed smoothly and fairly. A detailed damage assessment helps you maximize your claim benefits.
Here are effective documentation techniques to follow:
Take Photos: Capture clear images of all affected areas and items, showing the extent of the damage.
Record Videos: Create a walkthrough video to provide a detailed view of the damage.
List Damaged Items: Write down each item affected, including estimated replacement costs.
Gather Witness Statements: If applicable, collect statements from neighbors or professionals regarding the damage.
Following these steps will strengthen your claim and support your case with your insurance company, ensuring you’re part of a supportive community during this challenging time.
Keep Receipts and Invoices
Keeping track of all receipts and invoices is essential for a successful insurance claim after water damage. Effective receipt organization and invoice tracking can streamline the claims process, ensuring you won’t miss any crucial expenses.
Start by categorizing receipts by type—repairs, cleaning services, or replacement items. Use a digital tool or a dedicated folder to keep them organized and easily accessible.
Regularly update your invoice tracking to reflect any new expenses incurred during repairs. This meticulous documentation not only supports your claim but also provides peace of mind as you navigate the recovery process.
Take Photos Regularly
Taking regular photos of the affected areas can greatly bolster your insurance claim after water damage. Consistent photo documentation helps create a visual record of the damage and your recovery efforts.
Here’s how to effectively capture this process:
Document the Initial Damage: Take clear photos of all affected areas immediately after the incident.
Capture Ongoing Progress: Regular updates on repairs or mitigation efforts show the timeline of recovery.
Include Close-ups: Focus on specific damage points, such as mold, water stains, or structural issues.
Record Clean-Up Efforts: Document the removal of damaged materials or ongoing restoration work.
Ensure Safety: Turn Off Electricity And Gas
Before you begin any cleanup after water damage, it’s essential to prioritize safety by turning off the electricity and gas in your home.
Start by locating your main electrical panel and flipping the circuit breakers to the off position. This step guarantees electrical safety, preventing any risk of shock while you assess the damage.
Next, turn off the gas supply at the main valve to mitigate gas safety risks. Make sure to ventilate the area if you smell gas, and avoid using any electrical devices until you’re certain it’s safe.
This precaution not only protects you but also creates a secure environment for everyone involved.
Remove Water Damage With Pumps And Wet Vacuums
To effectively remove water damage, you need to choose the right equipment, such as pumps and wet vacuums, tailored to your specific situation.
Before you start, prioritize safety by wearing protective gear and ensuring that all electrical sources are turned off.
Finally, remember to follow proper disposal methods for any water and debris to maintain a safe environment.
Choose The Right Equipment
When dealing with water damage, selecting the right equipment is crucial to effectively remove excess water and prevent further issues.
Using the proper tools guarantees a thorough restoration process. Here are some key items to evaluate:
Submersible Pumps: Ideal for large volumes of standing water, these pumps can quickly evacuate water from your space.
Wet Vacuums: Perfect for smaller areas, they suction up water, debris, and moisture from carpets and floors.
Moisture Meters: Essential for measuring moisture levels in materials, helping you determine drying progress.
Dehumidifiers: Use these to remove lingering humidity from the air, preventing mold growth and further damage.
Investing in quality restoration equipment can make all the difference in your recovery efforts.
Safety Precautions First
While you’re keen to tackle water damage, prioritizing safety is essential before engaging pumps and wet vacuums. First, confirm your electricity supply is shut off in affected areas to prevent shock hazards.
Wear protective gear, including gloves and boots, to guard against contaminants in the water. Check for structural stability; weakened floors may pose risks.
Maintain a well-ventilated space to minimize mold growth and respiratory issues. As part of your emergency preparedness, keep a first-aid kit nearby for any minor injuries.
Always stay informed about water safety guidelines, especially in flood-prone areas. By taking these precautions, you create a safer environment for yourself and your loved ones while effectively addressing water damage.
Proper Disposal Methods
After guaranteeing safety precautions are in place, it’s time to tackle the water damage using pumps and wet vacuums. Here’s how to effectively dispose of the materials:
Assess the Damage: Identify areas with hazardous materials like mold or contaminated water.
Use Pumps: Deploy submersible pumps to remove standing water quickly and efficiently.
Wet Vacuums: For residual moisture, use wet vacuums to extract water from carpets and hard surfaces.
Follow Recycling Guidelines: Dispose of damaged items according to local recycling guidelines to guarantee environmentally safe practices.
Dry Affected Areas With Fans And Dehumidifiers
To effectively combat lingering moisture after water damage, using fans and dehumidifiers is essential. Start by strategically positioning fans to maximize airflow across affected areas. Aim them toward wet surfaces and keep windows closed to prevent outside air from interfering. This enhances evaporation, helping to dry spaces efficiently.
Next, set your dehumidifier to a low humidity level, typically around 30-50%. This will help absorb excess moisture from the air, further speeding up the drying process.
Monitor the dehumidifier’s water tank regularly and empty it as needed. Combining proper fan placement with ideal dehumidifier settings guarantees you create a balanced environment that mitigates moisture effectively, reducing the risk of future issues and fostering a healthier living space.
How To Identify Mold Growth?
Identifying mold growth is essential after water damage, as it can lead to health issues and structural problems.
Look for common indicators like a musty odor, discoloration on walls, and visible mold spots in areas prone to dampness, such as basements and bathrooms.
Additionally, monitor for health symptoms like respiratory issues or allergic reactions, which may signal mold exposure.
Common Mold Indicators
How can you tell if mold is taking hold in your space? Recognizing common mold indicators is essential for your health and safety.
Here are four signs to watch for:
Visible Growth: Dark spots or fuzzy patches on walls, ceilings, or floors may indicate various mold types.
Musty Odor: A persistent, damp smell often signals hidden mold.
Health Symptoms: Unexplained allergies, respiratory issues, or skin irritation can be linked to mold exposure.
Water Damage: Areas previously affected by leaks or flooding are prime for mold growth.
Areas Prone To Growth
After recognizing the signs of mold presence, it’s important to understand where mold is likely to thrive in your space.
Focus on areas with high humidity, like bathrooms and kitchens, where moisture control is essential. Inspect basements and crawl spaces, as these locations often retain dampness.
Look behind appliances, under sinks, and around windows, where leaks can occur. Pay attention to carpets and drywall, especially if they’ve absorbed water.
Implementing mold prevention strategies, such as using dehumidifiers and ensuring proper ventilation, can help mitigate growth.
Regularly check for condensation on pipes and walls, addressing any leaks immediately.
Health Symptoms To Monitor
While mold can thrive in hidden corners of your home, recognizing the health symptoms associated with its presence is essential for your well-being.
Mold exposure can lead to multiple health risks, especially if you’re sensitive to environmental factors. Monitor for these symptoms:
- Allergy Symptoms: Sneezing, itchy eyes, and skin rashes.
- Respiratory Issues: Coughing, wheezing, or shortness of breath.
- Long-Term Effects: Chronic sinusitis, asthma development, or persistent fatigue.
- Psychological Impact: Anxiety or depression can worsen due to health concerns.
Being aware of these signs not only helps you act quickly but also fosters a sense of community as you share experiences and solutions with others facing similar challenges.
Stay vigilant for your health and home!
Save Your Belongings After Water Damage
When water damage occurs, quickly evaluating and saving your belongings is essential to minimize loss. Start by prioritizing sentimental items, as these hold irreplaceable value.
Carefully remove affected items from the water source and assess their condition. For fabrics, wash them using a gentle cycle in cold water and air dry to prevent mold growth.
Electronics should be unplugged and inspected by a professional; avoid turning them on until assessed.
For wooden furniture, wipe surfaces with a dry cloth to remove moisture and prevent warping. Document everything for insurance purposes.
If items are heavily damaged, consult a professional service specializing in belonging restoration to salvage what you can. Taking these steps promptly can greatly enhance your chances of recovery.
Repair Structural Damage
Once you’ve managed to salvage your belongings, the next step involves evaluating and repairing any structural damage caused by the water. Ensuring your home’s structural integrity is essential for safety and longevity.
Follow these repair techniques to address the damage effectively:
Inspect Walls: Look for signs of warping, mold, or water stains, which may indicate underlying issues.
Check Flooring: Assess wood or laminate floors for buckling; replace damaged sections as needed.
Evaluate Ceilings: Inspect for sagging or discoloration; this may require reinforcement or replacement.
Examine Foundations: Look for cracks or shifts; consider professional assessment if severe.
Addressing these areas promptly can prevent further damage and restore your home’s safety and value.
Work With Professionals For Full Restoration
After evaluating the damage, it’s crucial to engage professionals for a thorough restoration. Their expertise guarantees you receive accurate professional assessments that identify hidden issues.
These specialists can develop a tailored restoration timeline, helping you understand how long the process will take and what to expect at each stage. They utilize advanced equipment and techniques to mitigate further damage, preventing mold growth and structural deterioration.
By working with experienced teams, you’ll feel confident in the quality of the repairs and the safety of your home. This collaboration not only minimizes stress but also fosters a sense of community as you rely on local experts to restore your space to its former glory.
Don’t underestimate the significance of professional support.
Develop A Comprehensive Water Damage Prevention Strategy
To effectively safeguard your home against future water damage, it’s essential to develop a thorough prevention strategy that addresses potential vulnerabilities.
Implementing these prevention techniques can make a significant difference:
Inspect Plumbing: Regularly check pipes, fittings, and appliances for leaks or corrosion.
Maintain Gutters: Clean and repair gutters to guarantee proper drainage and prevent overflow.
Seal Openings: Use caulk or weatherstripping to seal windows and doors, reducing moisture entry.
Install a Sump Pump: Consider adding a sump pump in basements to manage excess water during heavy rains.
Frequently Asked Questions
How Long Does It Take for Water Damage to Show Effects?
Water damage effects can appear within hours, often escalating within 24-48 hours. You should conduct an initial damage assessment promptly to determine the water damage timeline and prevent further deterioration of your property.
Can I Stay in My Home During the Drying Process?
You can stay in your home during the drying process, but guarantee you follow safety precautions. As drying techniques work, be mindful of humidity levels and potential hazards lurking in damp corners, prioritizing your well-being.
What Items Are Typically Not Salvageable After Water Damage?
Typically, items like carpets, mattresses, and porous furniture aren’t salvageable after water damage. For mold prevention, act quickly. Document everything for insurance claims to guarantee you receive the compensation you deserve for irreparable losses.
How Do I Know if My Home’s Foundation Is Compromised?
You’ll know your home’s foundation is compromised by signs of instability like cracks, uneven floors, or doors that stick. Schedule a foundation inspection promptly to uncover hidden issues and protect your sanctuary from further damage.
Are There Any Health Risks From Lingering Moisture After Water Damage?
Yes, lingering moisture can pose health risks. It encourages mold growth, which deteriorates air quality and can lead to respiratory issues. Ensuring proper ventilation and dehumidification helps mitigate these dangers in your home.
Wrap-Up
In the aftermath of water damage, swift action and meticulous care can be your lifeline. By following these tips, you’ll not only safeguard your space but also restore it to its former glory. Remember, like a phoenix rising from the ashes, your home can rebound stronger than ever. Don’t hesitate to lean on professionals for support and embrace a proactive approach for future prevention. Your diligence today sets the stage for a safer, healthier tomorrow.