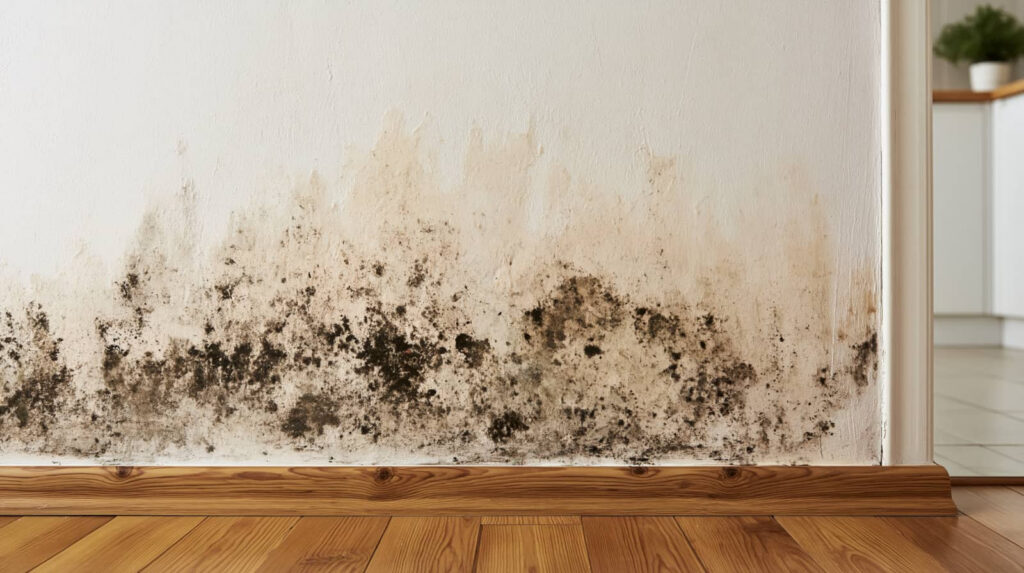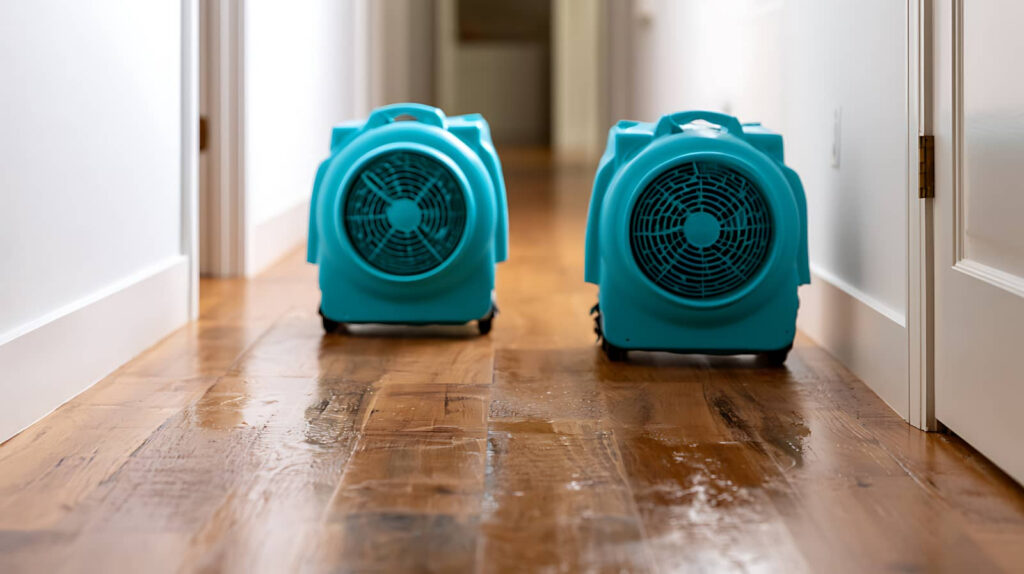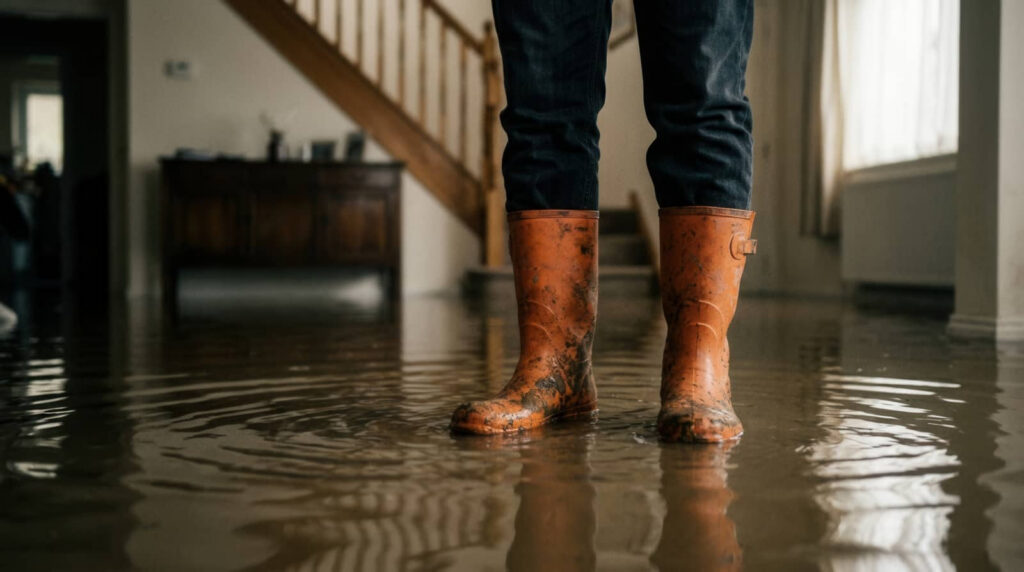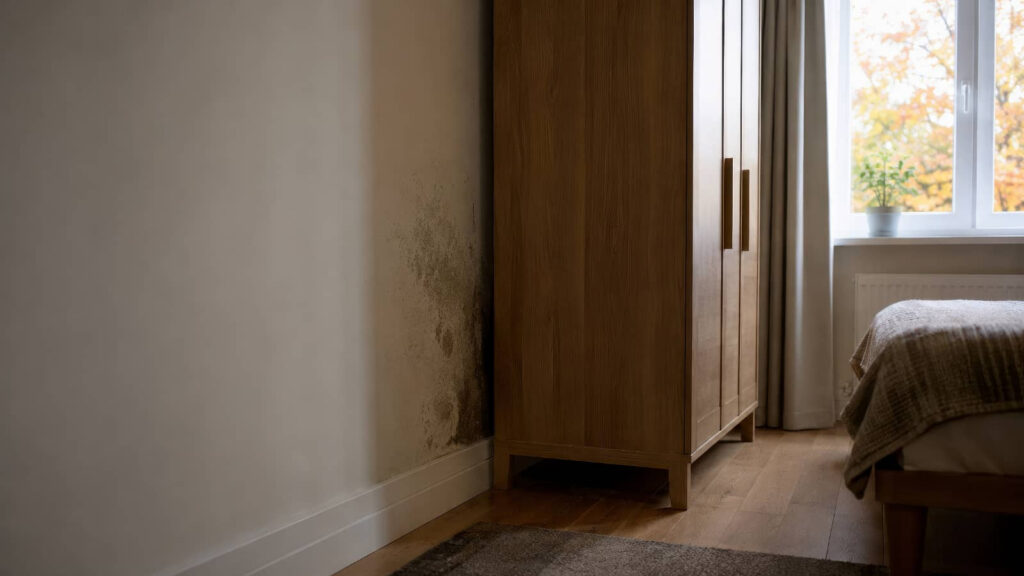
Stop the leak, stop the spread, stop the losses. Water Damage Mitigation starts with acting quickly when water damage hits. Shut off the source, remove standing water, and move valuables to a dry location before moisture spreads into walls and floors. Then dry hidden areas, watch for mold, check for structural damage, and call emergency water damage help when needed to limit long-term repair costs and prevent the next problem.
Key Takeaways
- Shut off the water source immediately and document the leak for faster mitigation.
- Remove standing water quickly using pumps, wet vacs, or mops to reduce saturation.
- Dry walls, floors, and hidden moisture with dehumidifiers and air movers within 24–48 hours.
- Move valuables to a dry area and protect unsafe spaces from further damage.
- Call professional water damage restoration help and keep photos and receipts for insurance claims.
Stop the Water Damage Source Fast
The moment you notice water damage, shut off the source right away to limit spread and structural impact. You should move with purpose, because every minute counts.
Start water source identification by tracing the leak to a valve, fixture, appliance, roof opening, or supply line. If you can’t isolate it, use leak detection methods like checking damp walls, listening for running water, and watching your meter for movement.
Close the main shutoff if needed, and switch off affected equipment only when it’s safe. Document what you find so your crew can stay aligned and fix the issue faster.
Stay calm, stay methodical, and you’ll protect your home, your team, and the people who depend on your response.
Remove Standing Water Right Away
Get standing water out as quickly as possible to reduce material saturation, mold risk, and further structural damage.
You need immediate action, because every minute lets water wick deeper into flooring, trim, and subfloors. Use standing water removal tools that match the depth and area, then keep traffic low so you don’t spread contamination.
- Use a wet vac, pump, or mop for shallow water.
- Work from the lowest point toward the exit path.
- Check hidden pockets under rugs and along baseboards.
You’re not just cleaning; you’re protecting the structure your team depends on.
Once the visible water is gone, keep watching for damp spots and lingering moisture so you can respond fast and stay ahead of secondary damage.
Move Valuables to a Dry Area
Once the visible water is out, move furniture, electronics, documents, and other recoverable items to a dry, climate-stable area to limit ongoing damage.
You’ll protect belongings faster when you sort items by urgency and fragility. Put paperwork, photos, and textiles in dry storage, and keep them elevated on clean pallets or shelves.
For valuables protection, unplug electronics, remove batteries if it’s safe, and handle items with dry hands or gloves.
Keep pathways clear so your team can work without delay, and label each item as you move it.
If you can’t relocate everything, create a temporary dry zone with airflow and low humidity.
Act quickly, stay organized, and you’ll preserve more of what matters.
Dry Walls, Floors, and Hidden Moisture
Check drywall for soft spots, swelling, and moisture readings above normal, and remove any wet insulation behind it.
Dry floors with air movers and dehumidifiers, and lift rugs or baseboards so trapped water can escape.
Use a moisture meter or thermal inspection to find hidden dampness in wall cavities, subfloors, and corners before you close anything up.
Drywall Moisture Checks
Moisture can hide in drywall long after surfaces look dry, so you need to test the wallboard, baseboards, and adjacent flooring before assuming the area has dried out. Use moisture meters during drywall inspection to confirm which sections still hold water and which have stabilized.
Pay close attention to seams, corners, and any bubbling paint or soft spots.
- Check the highest reading points first.
- Mark wet zones for follow-up checks.
- Reinspect until readings stay consistent.
If you belong to a crew handling mitigation, share results right away so everyone works from the same data. Document readings, note location changes, and compare both sides of the wall if you can.
Accurate checks help you stop hidden damage before it spreads and keep your cleanup on track.
Floor Drying Methods
Start floor drying with the right airflow and extraction so you can pull trapped water out of wall bases, subflooring, and trim before it migrates upward.
You’ll get faster results when you lift rugs, remove wet pads, and expose the floor assembly to moving air. Use floor drying techniques that pair low-grain dehumidification with directed fans, and keep the air path open around corners and under cabinets.
If water reached wood or laminate, you should remove baseboards and create vent gaps so moisture can escape.
Choose effective drying equipment sized for the room and run it continuously until materials stabilize.
Stay consistent, document progress, and keep your crew aligned so everyone knows the space is drying the same way.
Hidden Dampness Detection
Once surface drying is underway, verify that hidden dampness isn’t still trapped in wall cavities, subfloors, or beneath trim. You’ll protect your crew and your build by checking every suspect zone before closing anything up.
Use thermal imaging to spot cooler areas that may signal evaporation or concealed leaks, then confirm findings with moisture meters.
- Probe baseboards, drywall seams, and floor edges for elevated readings.
- Compare affected areas with nearby dry sections to track recovery.
- Recheck after ventilation changes, because moisture can migrate.
If readings stay high, keep drying equipment running and remove affected finishes. You’re part of the same careful process as everyone restoring the space, and that shared discipline helps prevent mold, odor, and callbacks.
Prevent Mold After Water Damage
To prevent mold after water damage, dry all affected materials within 24 to 48 hours, because mold can begin growing quickly in damp conditions.
You should remove wet carpets, padding, and porous items that won’t dry fast enough. Run fans and a dehumidifier to keep air moving and humidity low.
Clean hard surfaces with detergent and water, then disinfect them if needed. Wear gloves and an N95 mask when you handle contaminated material.
Check hidden corners, baseboards, and closets for lingering moisture, since missed areas can undermine mold prevention strategies.
Monitor the space for musty odors or discoloration, and act right away if they return. Fast drying and cleanup reduce long term effects and help you restore a safe, familiar home.
Check For Structural Damage
After the area is dry and mold growth is under control, inspect the structure for signs of damage. You should move through your space with an inspection checklist and check floors, walls, ceilings, and framing for warping, cracking, or sagging.
Protect your structural integrity by noting any soft spots, separated joints, or stains that suggest hidden moisture.
- Press along baseboards and subfloor areas for bounce or give.
- Look at door and window frames for shifting or binding.
- Examine beams, studs, and joists for splits, rot, or rusted fasteners.
If you spot anything unusual, document it clearly so you and your team can track what needs attention.
Careful checking helps you stay organized and confident as you restore your home.
Call Emergency Water Damage Help
When you spot active water intrusion, call emergency water damage help right away to start immediate response and limit further loss.
You’ll get 24/7 professional assistance that can extract water, stabilize the area, and reduce secondary damage.
Fast action improves the odds of protecting structural components, finishes, and contents.
Immediate Emergency Response
If water is actively entering your home, shut off the source if you can do so safely and call emergency water damage help right away.
Next, protect your crew and your space by following clear safety procedures. Move fast, but don’t rush past hazards.
Cut power to wet areas if you can reach the breaker without standing in water.
Put on emergency supplies like gloves, boots, and a flashlight before you re-enter damaged rooms.
Remove pets and keep family members away from soaked floors, ceilings, and outlets.
Then, stop spreading water by closing doors, lifting lightweight items, and setting towels at the edge of the leak.
You’re not handling this alone; tight action now limits damage, reduces risk, and keeps your home ready for the next step.
24/7 Professional Assistance
Call emergency water damage help as soon as the leak is controlled, because a 24/7 response team can start extraction, drying, and damage assessment before moisture spreads deeper into walls, floors, and insulation.
You get faster containment, fewer secondary losses, and clearer documentation for insurance claims. A trained crew uses moisture meters, thermal imaging, and commercial dehumidifiers to map hidden saturation and verify drying.
They’ll also isolate unsafe areas, protect contents, and coordinate restoration services that match the damage level.
When you act quickly, you join a process built for control, accuracy, and recovery.
Keep photos, receipts, and a timeline ready, then let the professionals guide the next steps. Their around-the-clock support helps you avoid guesswork and move forward with confidence.
Frequently Asked Questions
How Do I Tell if Water Damage Is From Clean or Contaminated Water?
You can tell by checking water sources and contamination signs: clean water usually comes from supply lines, while contaminated water often smells bad, looks discolored, or follows sewage, flooding, or storm runoff.
Can Insurance Cover Water Damage Mitigation Costs?
Yes, your insurance can cover mitigation costs; when leaks and policies coincide, you’ll feel relief. Review insurance policies, coverage limits, and the claim process, then use approved mitigation techniques promptly to protect your home.
When Should I Shut off Electricity After Flooding?
Shut off electricity immediately after flooding if water reaches outlets, appliances, or your panel; you’re facing flood safety and power risks. If you’re unsure, stay out, call utility crews, and protect your household.
How Long Does Water Damage Mitigation Usually Take?
Typically, you’ll see a typical mitigation timeline of 3–7 days; most projects finish then. Your factors influencing duration include water class, material saturation, and drying equipment, so you’ll feel supported throughout.
Should I Document Damage Before Starting Cleanup?
Yes, you should document the damage before cleanup. You’ll support accurate damage assessment, protect insurance claims, and set cleanup priorities. Take photos, record affected materials, and note dates, so you can compare changes later.
Wrap-Up
When water strikes, you must act like a ship’s crew in a sudden storm: stop the source, clear the flood, and dry every hidden corner fast. You protect valuables, watch for mold, and inspect for structural damage before small leaks become costly failures. If the situation feels beyond your tools, call emergency water damage help right away. Quick, disciplined mitigation now can save your property, your time, and your peace of mind later.