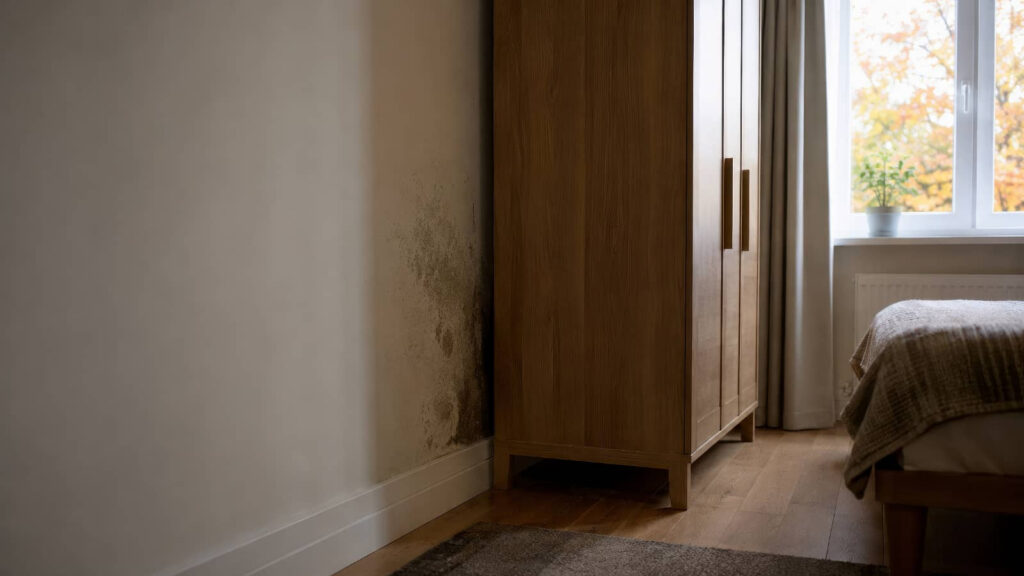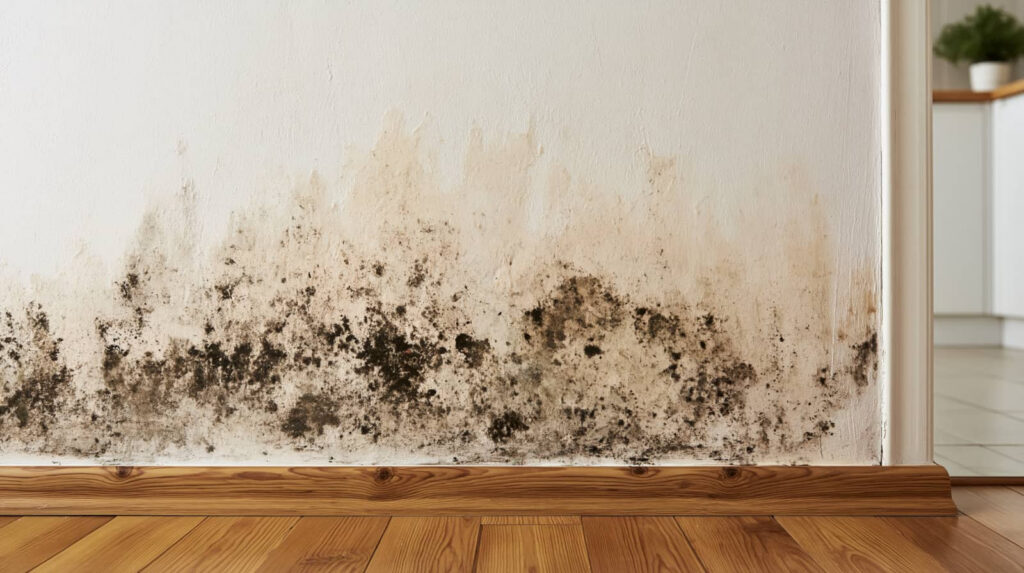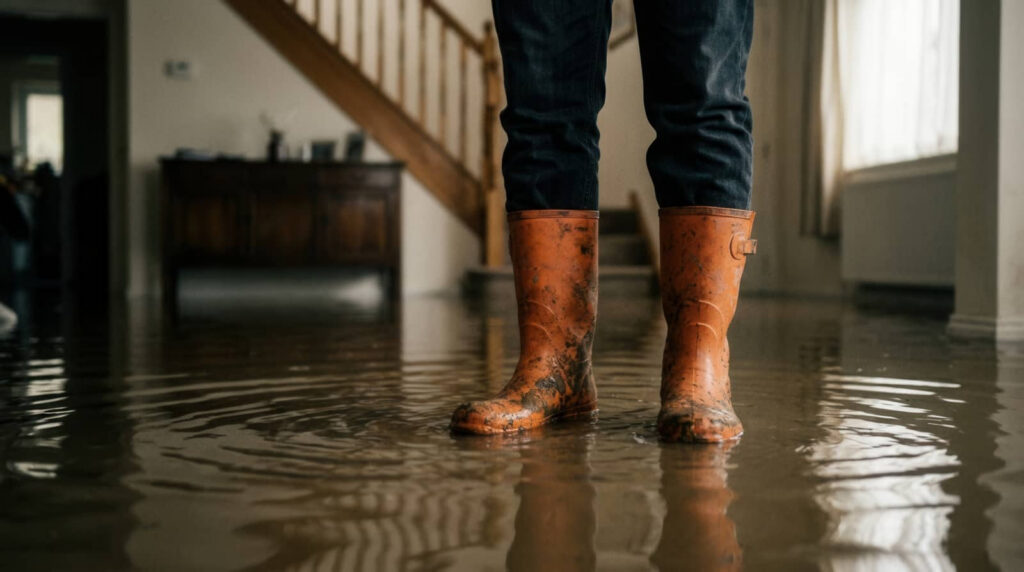
When water hits your home, Emergency Water Damage Mitigation means you need to act fast and follow the right order. Start by checking for electrical hazards, stopping the source if it’s safe to do so, and documenting the damage before anything is moved. Then remove standing water, begin drying immediately, and remove materials that won’t recover. The next steps matter just as much, because delays can turn a manageable loss into a much larger problem.
Key Takeaways
- Prioritize safety: shut off water if safe, avoid electrical hazards, and watch for structural damage or contaminated water.
- Document all damage immediately with photos, notes, dates, and receipts for insurance claims.
- Remove standing water quickly using pumps or wet vacs, then begin drying with air movers and dehumidifiers.
- Remove porous materials like wet drywall or carpet pad before mold develops, and clean remaining hard surfaces.
- Inspect and repair the water source, then prevent future damage with caulk, vapor barriers, drainage, and regular inspections.
Assess Safety and Stop the Leak
Before you do anything else, assess the area for electrical hazards, structural damage, and contaminated water, then shut off the water source if you can do so safely.
Put on gloves and boots, and keep children and pets out. Use leak detection to find the break, drip, or failed fitting at the supply line, fixture, or appliance.
If you can’t reach the valve safely, stop and wait for help. Close the nearest shutoff valve, then the main valve if needed.
Open nearby faucets to relieve pressure and slow continued flow. Move only lightweight items away from wet surfaces.
Stay alert for sagging ceilings, slick floors, and exposed wiring.
These safety precautions protect you and help you control the damage fast, so your team can work with you.
Document Water Damage for Insurance
Take clear photos of every affected area, including walls, floors, ceilings, contents, and visible source damage.
Record the damage details right away, noting the time, location, materials affected, and any actions you took.
Save all repair and cleanup receipts so you can support your insurance claim with accurate cost records.
Photograph All Affected Areas
Photograph every affected area as soon as it’s safe to do so, capturing wide shots and close-ups of all visible water intrusion, damaged materials, and any items that show the extent of the loss.
Use steady photographic techniques: shoot from multiple angles, include room context, and keep key reference points in frame for accurate damage assessment. Turn on a flash only when needed, and avoid filters that alter color or texture.
Photograph floors, walls, ceilings, insulation, baseboards, and contents in each room, even if some damage looks minor. Stay consistent so your images support the claim and help your team verify conditions fast.
Take enough shots to show patterns of spread, but don’t move objects unless they’re unsafe. Organized, clear photos make you stronger together during recovery.
Record Damage Details Immediately
As you finish capturing photos, record the damage details right away so nothing gets lost in the rush of cleanup and claims handling.
Note the date, time, room, source of water damage, visible staining, warped materials, and any electrical or structural concerns.
Log what emergency responders found, what they touched, and when they left. Be specific about standing water depth, affected appliances, odors, and humidity if you can measure it.
Write down names, phone numbers, and badge or report numbers for anyone involved.
Keep your notes in one file so you can share a clean timeline with your insurer and restoration team.
Clear, organized documentation helps you stay aligned with the people supporting you and speeds the path back to normal.
Save Repair And Cleanup Receipts
Save every repair and cleanup receipt, because insurers usually need proof of what you spent and when you spent it. Keep each invoice, contractor estimate, and supply slip in one folder so receipt organization stays simple under stress.
Use expense tracking to record dates, vendor names, payment methods, and job descriptions. That way, you can show the full chain of mitigation work and stay aligned with your claims team.
- Photograph receipts before ink fades.
- Save digital copies in cloud storage.
- Match each receipt to a damage log entry.
- Separate emergency cleanup from long-term repairs.
When you document this well, you’re not alone; you’re acting like other prepared homeowners who protect their claim with clear records.
Extract Standing Water Fast
You need to remove standing water immediately, because every minute increases absorption and structural damage.
Use a pump, wet/dry vacuum, or extraction tool to clear the area fast, then move to drying without delay.
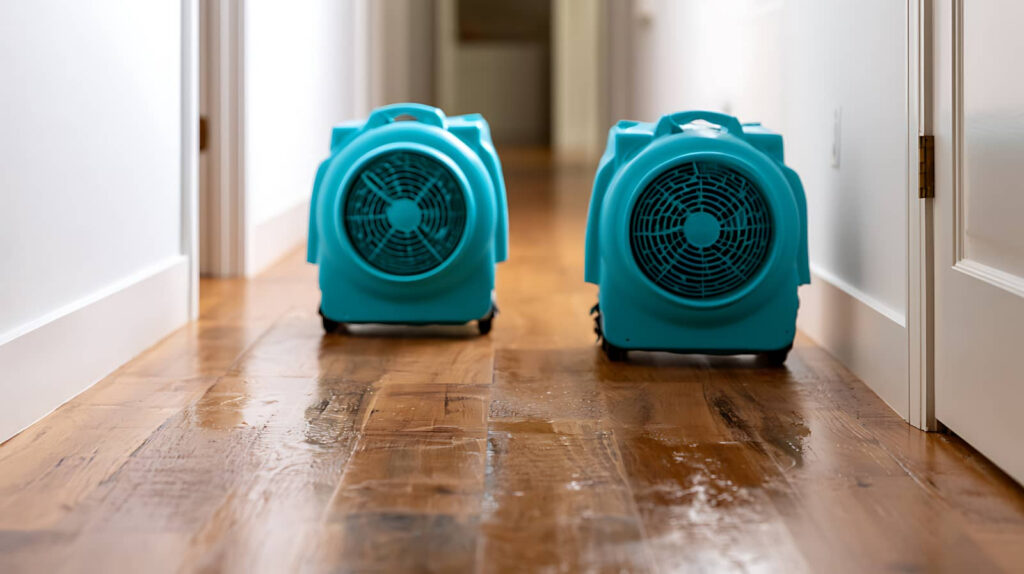
Keep a drying tools checklist ready—air movers, dehumidifiers, moisture meter, and extension cords—so you can shift straight into controlled drying.
Fast Water Removal
Start fast-water removal by extracting standing water immediately with a wet vac, submersible pump, or truck-mounted extractor, depending on the volume and access. Your emergency response works best when you move methodically and keep paths clear.
Use proven water extraction techniques to reduce saturation fast and limit spread.
- Isolate the wet zone.
- Pull water from the lowest point first.
- Empty equipment before capacity drops.
- Recheck hidden pockets near walls and trim.
You’ll protect materials and keep your team aligned when you stay systematic. Fast removal also lowers slip risk and helps you regain control of the space quickly.
If water keeps returning, identify the source and keep extracting until flow stops.
Drying Tools Checklist
With standing water already being pulled, keep the drying tools checklist ready so extraction doesn’t stall. You need air movers, a dehumidifier, extension cords, trash bags, a wet vac, and basic PPE.
Position air movers to push damp air across floors, baseboards, and cavities. Compare dehumidifier options by capacity and room size so you don’t undersize the setup.
Use a moisture meter at the start, then track readings each shift to confirm drying and spot hidden saturation. Check filters, drain hoses, and electrical load before you run everything together.
Keep one person logging measurements, another moving gear, and one clearing debris. That division keeps your team organized, speeds recovery, and helps everyone stay focused on the same goal.
Dry Out Walls, Floors, and Contents
Deploy drying equipment as soon as standing water is removed to prevent secondary damage and mold growth. Position air movers to sweep across wet surfaces, and run dehumidifiers to pull vapor from the room. You’ll work faster when you follow this sequence:
- Open cabinets and closets for airflow.
- Lift rugs and furniture legs onto blocks.
- Check moisture monitoring readings daily.
- Verify wall insulation is drying through access points.
Keep contents spaced apart so air can reach every side. Aim airflow at baseboards, subfloors, and hidden cavities without oversaturating one area.
Track progress with a meter and adjust equipment placement as readings drop. Stay consistent, and you’ll protect your space, your belongings, and your crew’s shared recovery effort.
Remove Damaged Materials Before Mold Starts
Once porous materials stay wet too long, you need to remove them before mold takes hold. You should pull out soaked drywall, insulation, carpet pad, and warped particleboard fast.
Cut back to clean, dry edges so you’re not leaving hidden moisture behind. Bag each item as you go, and keep debris separate from salvageable contents.
Use mold prevention techniques by minimizing the time wet materials stay in the structure and by opening cavities for airflow.
Wear gloves, eye protection, and a respirator when dust or spores may be present. Follow local damaged material disposal rules, since some items need special handling.
If you act quickly and work together, you protect your space and help everyone get back on track sooner.
Clean and Disinfect the Area
After you’ve removed damaged materials, clean all remaining hard surfaces to strip away dirt, residues, and contamination. Use appropriate cleaning products with warm water, then rinse and dry each surface quickly.
For porous items you kept, follow labeled instructions and verify compatibility before you apply any disinfectant.
- Wear gloves, eye protection, and a mask.
- Scrub visible soil before any disinfection methods.
- Apply the product for the full contact time.
- Wipe dry with clean towels and discard them.
You’re protecting your space and everyone in it by working methodically. Check corners, baseboards, and fixtures, because hidden residue can keep problems going.
If a surface still feels sticky or smells off, repeat the process. Stay consistent, and you’ll help your home recover safely.
Prevent Future Water Damage
Now that the cleanup is complete, inspect the source of the water intrusion and fix it before it happens again.
Check roof flashing, plumbing joints, appliance hoses, windows, and foundation cracks, then seal or replace damaged parts.
Add water resistant materials in vulnerable areas like bathrooms, basements, and utility rooms, and use proper backing, caulk, and vapor barriers.
Schedule routine inspections each season so you can catch leaks early and stay ahead of hidden damage.
Keep gutters clear, extend downspouts away from the structure, and confirm grading slopes away from your home.
If you live with others, assign these checks so everyone knows the plan.
That shared effort helps protect your space, reduces stress, and keeps your home safer together.
Frequently Asked Questions
How Soon Should I Call My Insurance Company After Water Damage?
Call your insurance company immediately after water damage, ideally within hours. Your water damage timeline matters, and fast reporting protects the insurance claim process. You’ll fit right in with prompt documentation and claim handling.
Can I Stay in My Home During Emergency Water Damage Cleanup?
You can stay if water safety is confirmed and cleanup precautions are in place, but leave for sewage, electrical risks, or mold. You’ll protect your home best by keeping dry, ventilated areas accessible.
Will My Homeowner’s Policy Cover Mold After Flooding?
Your homeowner’s policy may cover mold after flooding if a sudden covered loss caused it, but exclusions often apply. File insurance claims fast, document damage, and focus on mold prevention with drying and remediation.
Should I Hire a Professional Restoration Company or Do It Myself?
Hire a professional restoration company if damage is extensive, contaminated, or hidden. You can handle small jobs with DIY Techniques, but Professional Benefits include faster drying, proper sanitation, and helping you protect your home and community.
How Long Does Water Damage Restoration Usually Take?
Usually, you’ll spend 3–10 days restoring typical water damage, but severe cases can take weeks. You’ll need damage assessment first, then targeted drying techniques to prevent hidden moisture, mold, and structural issues.
Summary
When you respond fast, you limit structural loss, mold growth, and repair costs. Stop the leak, document the damage, and extract standing water right away. For example, if a supply line bursts under a sink, you can shut off the valve, photograph the cabinets, and set up fans within minutes. Then dry, remove damaged materials, and disinfect the area. Regular inspections and water-resistant materials help you prevent the next emergency.