When you face flood damage at home, a structured approach is essential for effective repair. Start by evaluating the extent of the damage, ensuring you document everything for insurance purposes. Prioritize safety by turning off electricity and wearing protective gear. With the right tools and techniques, you can extract water and promote drying. But before you jump into repairs, understanding the specific steps involved will make a significant difference in the outcome.
Key Takeaways
- Assess flood damage by documenting affected areas and checking for moisture, mold, and structural integrity before starting repairs.
- Ensure safety by wearing protective gear, turning off electricity, and consulting your flood insurance provider.
- Use water pumps and wet/dry vacuums for efficient water extraction, followed by dehumidifiers and fans for drying.
- Eliminate mold by cleaning affected areas with mold-killing solutions and ensuring proper ventilation for drying.
- Repair structural damage by replacing drywall, flooring, and reinforcing components, while implementing flood-proofing measures for future prevention.
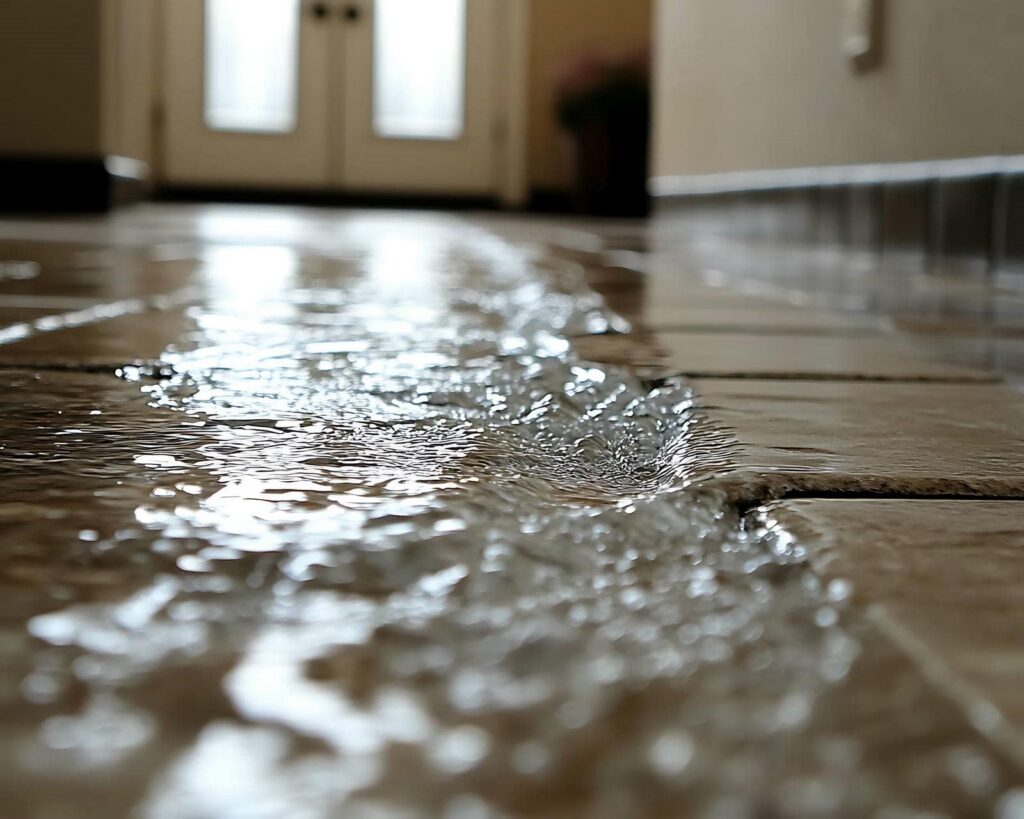
How to Assess Flood Damage in Your Home?
When evaluating flood damage in your home, it’s essential to act quickly and methodically to prevent further issues.
Start your damage assessment by documenting everything visually; take photos of affected areas before beginning cleanup. Focus on understanding the extent of the water intrusion—check wall surfaces, flooring, and any belongings.
Identify moisture levels using a moisture meter and look for signs of mold growth, which can escalate problems.
During your flood evaluation, prioritize areas that show significant damage, like basements or ground floors.
Create a detailed report of your findings to guide repairs and insurance claims. This organized approach not only helps you restore your home but also fosters a sense of control in an overwhelming situation.
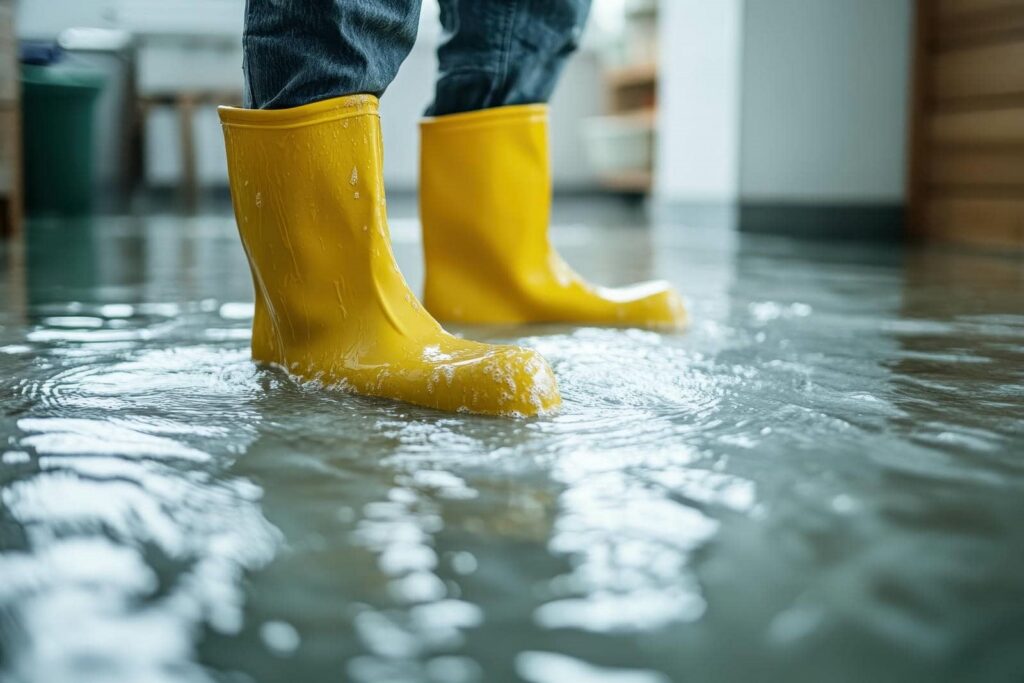
Safety Tips for Flood Cleanup
Although flood cleanup can feel overwhelming, prioritizing safety is crucial to protect yourself from potential hazards.
First, confirm you’ve contacted your flood insurance provider to understand your coverage before starting any work.
Wear protective gear, including gloves, boots, and masks, to shield against contaminants.
Turn off electricity and gas in affected areas to prevent electrocution or explosions.
Keep your emergency contacts handy, as you may need assistance or professional help.
Avoid wading into floodwaters without proper gear, as they may contain hidden dangers.
Document damage thoroughly with photos for insurance claims.
Finally, stay informed about weather updates and local resources to ensure a safe cleanup process.
Your safety is essential in restoring your home and peace of mind.
Gather Essential Tools for Flood Repairs
Before diving into flood repairs, it’s essential to gather the right tools to ensure an efficient and effective restoration process.
Start with repair tools like a sturdy utility knife for cutting damaged materials and a pair of heavy-duty gloves to protect your hands. You’ll also need a wet/dry vacuum for removing standing water—this is a flood essential.
Consider a dehumidifier to control moisture levels after extraction. Additionally, stock up on fans to promote airflow and help with drying. A moisture meter can also be invaluable to assess remaining dampness in walls or floors.
Having these tools ready streamlines your repair efforts and fosters a sense of community as you tackle this challenge together.
Step-by-Step Water Extraction and Drying
Before you start the water extraction process, assess the severity of the damage to determine the best approach.
You’ll need to choose the right equipment based on your findings—whether it’s a wet/dry vacuum for minor leaks or submersible pumps for deeper water.
This careful assessment ensures you tackle the problem efficiently and effectively.
Assessing Water Damage Severity
As you begin to evaluate the severity of water damage in your home, it’s crucial to approach the situation methodically to ensure effective remediation.
Start by examining the water levels in affected areas, noting whether the damage is from clean water, gray water, or black water. Each damage type requires different responses.
Inspect walls, floors, and furniture for signs of saturation, warping, or mold. Document specific areas impacted and take pictures for insurance purposes.
Pay close attention to hidden spaces like behind appliances or under carpets, as damage can be more severe there.
Using Proper Equipment
After evaluating the severity of water damage, it’s time to tackle water extraction and drying with the right equipment.
Start by using water pumps to remove standing water efficiently; these pumps can greatly speed up the process.
Once the bulk of the water is cleared, shift your focus to dehumidifiers. Their usage is essential for reducing humidity levels and preventing mold growth.
Place them strategically throughout the affected areas to maximize airflow and moisture removal.
Monitor the dehumidifiers regularly, ensuring they’re functioning at their best.
Finally, use fans to enhance circulation, aiding in the drying process.
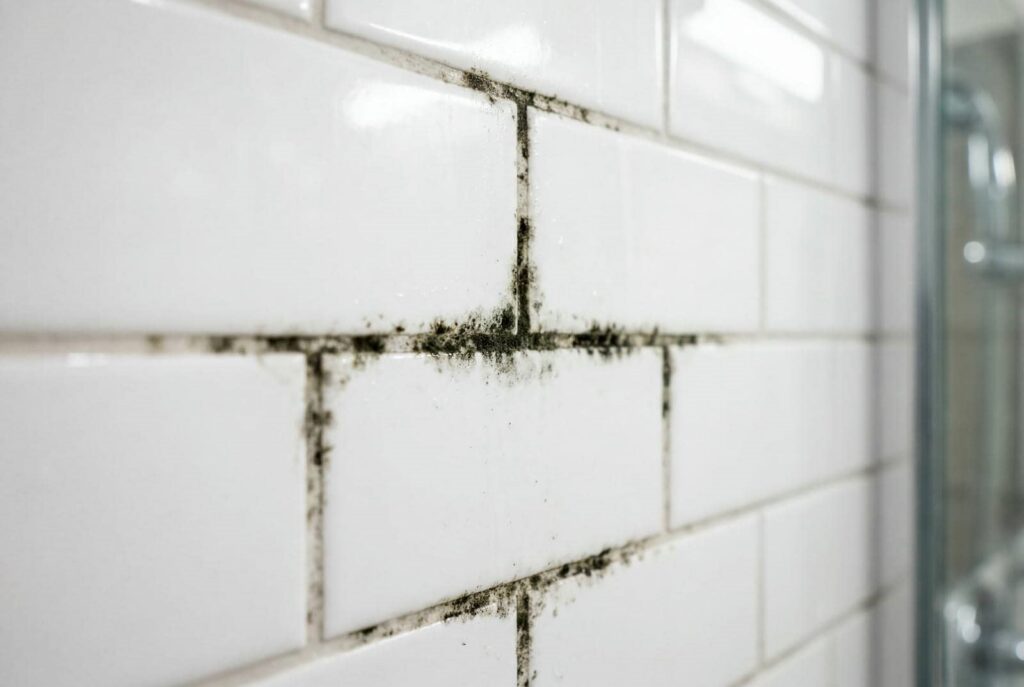
Steps to Eliminate Mold After Flooding
After flooding, it’s essential to identify moisture sources that can fuel mold growth, like damp walls or hidden pockets of water.
Once you’ve located these areas, clean them thoroughly with appropriate mold-killing solutions to prevent further contamination.
Taking these steps promptly helps ensure a safer, healthier living environment.
Identify Moisture Sources
Identifying moisture sources is essential for effectively eliminating mold after flooding. Start with thorough moisture detection; use a digital moisture meter to pinpoint hidden damp areas in walls and floors.
Inspect your home systematically, focusing on likely water sources such as leaky pipes, windows, and roof damage. Check basements and crawl spaces, as they often retain moisture.
Don’t overlook appliances like dishwashers or water heaters that could contribute to water accumulation. Remove any standing water immediately, as it encourages mold growth.
Once you’ve identified all moisture sources, document your findings for future reference. This methodical approach helps you tackle mold effectively and fosters a safer, healthier home environment for you and your loved ones.
Clean Affected Areas
Once you’ve pinpointed the moisture sources, it’s time to focus on cleaning the affected areas to eliminate mold effectively.
Start by removing any flood debris, such as dirt, mud, and damaged materials. Use a shovel or broom for larger debris, and don’t forget to wear protective gear.
Next, sanitize surfaces with a mixture of water and detergent, making certain you scrub thoroughly. Pay special attention to corners and crevices where mold can hide.
After cleaning, apply a mold-killing solution, following the manufacturer’s instructions for best results.
Ventilate the area to promote drying, as moisture control is essential for preventing mold regrowth.
Regularly inspect the cleaned areas to confirm your sanitation practices are effective and the mold stays away.
Repair Techniques for Walls and Floors
When you’re faced with flood damage, knowing how to effectively repair your walls and floors is essential to restoring your home.
Start by evaluating the damage to your wall insulation and flooring materials. Here are key techniques to take into account:
Remove damaged drywall: Cut out sections that are beyond repair to prevent mold growth.
Replace insulation: Install new wall insulation to maintain energy efficiency.
Select appropriate flooring materials: Choose water-resistant options like vinyl or tile for durability.
Seal and paint: Use waterproof sealants and paint to protect against future moisture.
DIY Repair Techniques vs. When to Call Professionals
After addressing the necessary repairs for walls and floors, you might find yourself weighing the benefits of DIY repair techniques against the advantages of hiring professionals.
DIY techniques can save you money, especially with simpler tasks like replacing drywall or baseboards. However, consider the repair complexity; if the damage involves electrical systems or structural issues, professional services are essential.
Cost comparison often favors DIY for minor repairs, but time efficiency can swing towards professionals, who complete tasks more quickly.
Don’t overlook safety considerations; handling mold or water damage improperly can lead to health risks.
Ultimately, assess your skills and the severity of the damage to decide whether to tackle it yourself or call in the experts.
Preventing Future Flood Damage
To effectively prevent future flood damage, you should start by evaluating your property’s drainage system.
Consider implementing targeted flood proofing measures and drainage solutions to safeguard your home. Here are some essential steps you can take:
Clear Gutters and Downspouts: Make certain they’re free from debris to facilitate proper water flow.
Install French Drains: These can redirect water away from your foundation.
Use Sump Pumps: They help to remove excess water from basements.
Landscape Grading: Ascertain your yard slopes away from your home to direct water flow.
Frequently Asked Questions
How Long Does It Take for Flood Damage to Show Up?
Flood damage can show up within hours to days, depending on factors like water type and exposure. You should consider a damage timeline for effective flood detection, ensuring you address issues promptly and avoid further complications.
Will My Homeowner’s Insurance Cover Flood Damage Repairs?
Your homeowner’s insurance typically doesn’t cover flood damage unless you’ve added flood insurance. Check your policy for coverage limits; understanding these details ensures you’re not left stranded when disaster strikes. Stay informed, stay prepared.
What Are the Health Risks of Flood-Damaged Homes?
Flood-damaged homes pose serious health risks, including mold growth that triggers respiratory issues, exposure to contaminated water, compromised structural integrity, pest infestations, and negative effects on mental health. You must address these risks promptly.
Can I Salvage My Furniture After a Flood?
Can you really save your furniture after a flood? Absolutely! Start with a thorough moisture assessment, then prioritize furniture restoration techniques. Assess each piece carefully, ensuring you address damage to preserve your cherished belongings.
How Do I Document Flood Damage for Insurance Claims?
To document flood damage for insurance claims, conduct a thorough flood assessment. Create a detailed damage inventory, noting affected items and their condition. Take clear photos and keep receipts to support your claim effectively.
Recap
Effectively repairing flood damage transforms chaos into order, safeguarding your home and peace of mind. By following the steps outlined—from assessment to prevention—you restore your space and fortify it against future disasters. Remember, while DIY methods can save you money, knowing when to call in professionals can make all the difference. Don’t let water dictate your home’s fate; take action and reclaim your sanctuary today.