When you’re faced with water damage at home, it can feel overwhelming. You need to assess the situation quickly to avoid further issues. Start by identifying the source of the water and check for any structural concerns. Having the right tools and materials on hand will make the repair process smoother. Once you’ve tackled the initial assessment, you can move on to removing damaged materials and ensuring everything dries properly. This is just the beginning of a thorough repair plan.
Key Takeaways
- Identify the source of water damage and assess structural integrity before starting repairs.
- Gather safety gear and essential tools like dehumidifiers and utility knives for effective remediation.
- Remove damaged materials carefully, sealing them in plastic bags to prevent mold spread.
- Thoroughly dry the affected area using fans, dehumidifiers, and by opening windows for ventilation.
- Replace damaged materials with water-resistant options and perform routine maintenance to prevent future issues.
Assessing the Extent of Water Damage
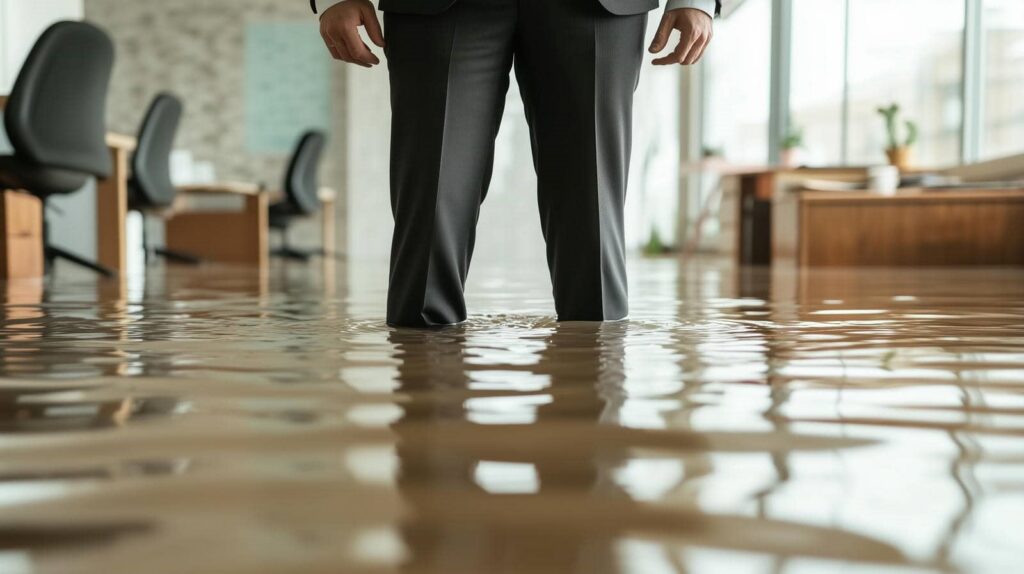
When dealing with water damage, it’s crucial to assess just how extensive the problem is. Start by identifying water sources; this could be a leaky pipe, a broken appliance, or even heavy rainfall.
Once you pinpoint the cause, it’s time to evaluate structural integrity. Check for signs like swelling, warping, or discoloration in walls, floors, and ceilings. Don’t forget to inspect hidden areas like basements or attics, where moisture might linger unnoticed.
Use a moisture meter if you have one, as it’ll help you gauge how deeply the water has penetrated materials. If you spot mold or mildew, that’s a clear indicator the damage is more severe.
Gathering Necessary Tools and Materials
Before diving into repairs, it’s vital to gather the right tools and materials to ensure a smooth process. Proper tool selection and material sourcing can make all the difference in your project’s success. Here’s a list to help you prepare:
Safety Gear: Get gloves, goggles, and masks to protect yourself from mold and debris.
Drying Equipment: A dehumidifier and fans are essential for removing moisture and preventing further damage.
Repair Tools: Stock up on a utility knife, hammer, and screwdrivers for effective material removal and installation.
Repair Materials: Depending on the damage, you’ll need drywall, insulation, and sealants to restore the area.
Having these essentials ready will ensure you feel confident and in control as you tackle the repairs.
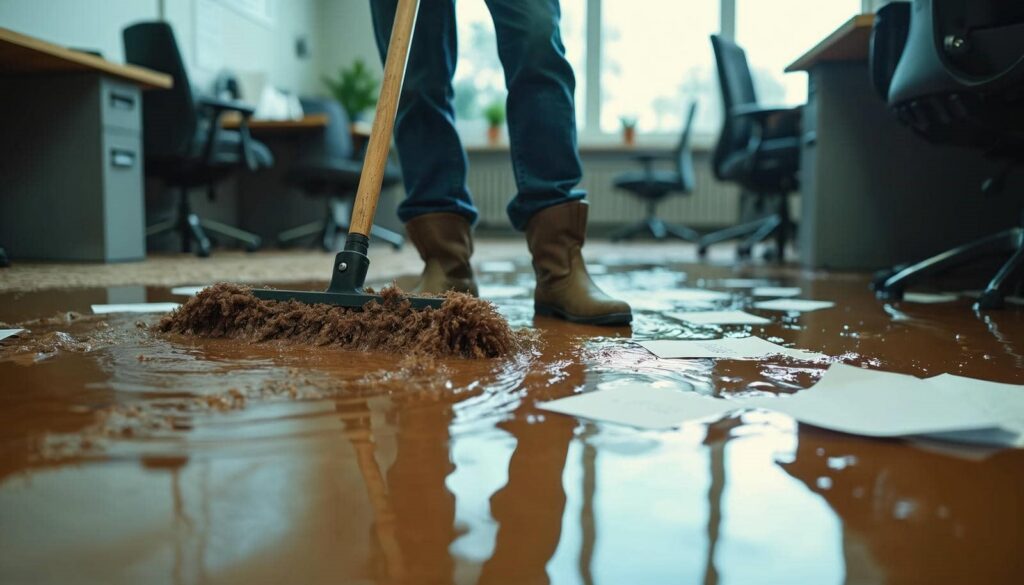
Safely Removing Damaged Materials
Removing damaged materials is an important step in the water damage repair process, and taking the right approach can prevent further issues.
Start by wearing protective gear, including gloves, masks, and goggles, to ensure your safety during mold removal. Use a utility knife to cut away soaked drywall or insulation, being careful not to disturb any surrounding areas that appear unaffected.
Once you’ve exposed the damaged material, seal it in plastic bags to contain any mold spores and dispose of it responsibly.
Check for hidden moisture in corners and behind fixtures, as mold can grow in these spots. It’s vital to ventilate the space, so open windows and use fans to promote airflow.
If you encounter extensive mold growth, consider consulting a professional for proper removal.
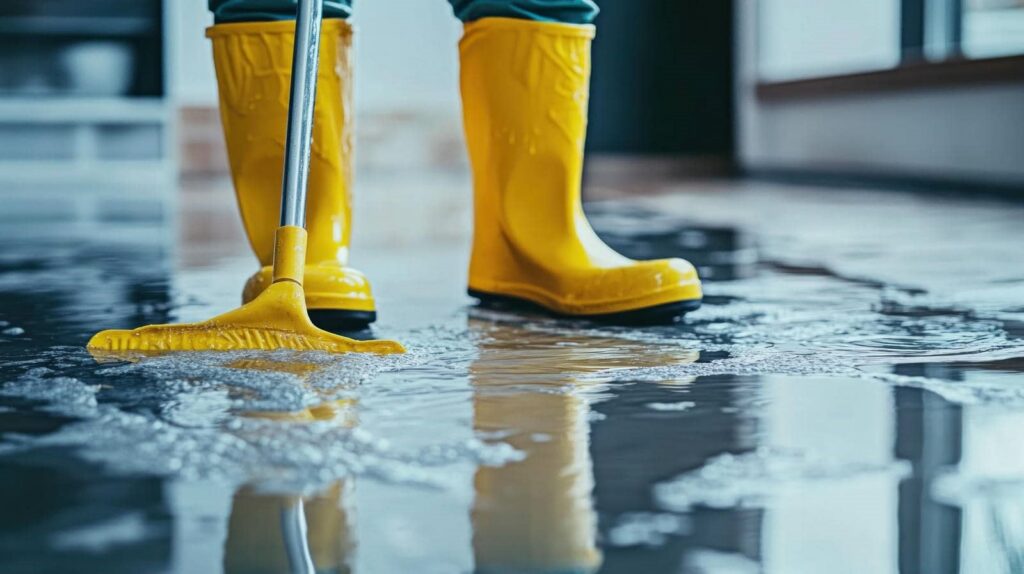
Drying Out the Affected Area
To effectively restore your space after water damage, it’s essential to dry out the affected area as quickly as possible.
Start by using moisture detection tools to identify hidden damp spots. Once you know where the moisture is, implement these air circulation techniques:
Open Windows: Allow fresh air to flow through your space, helping to reduce humidity levels.
Use Fans: Position fans strategically to create airflow, targeting wet surfaces directly.
Dehumidifiers: Invest in a dehumidifier to pull excess moisture from the air, especially in confined areas.
Heat Source: If safe, use heaters to raise the temperature, speeding up evaporation.
Repairing and Replacing Damaged Structures
Once you’ve dried out the affected area, it’s time to assess and address any structural damage caused by the water.
Start by checking the walls, floors, and ceilings for signs of warping, mold, or weakness. Maintaining structural integrity is essential, so if you notice significant damage, you might need to replace sections of drywall or flooring.
When selecting materials, opt for water-resistant options like treated plywood or mold-resistant drywall. These choices ensure durability and help prevent future issues.
For wood structures, inspect beams and joists; if they’re compromised, replace them with treated lumber to enhance stability.
Preventing Future Water Damage
Although it can be tempting to focus solely on repairs after water damage, taking proactive steps to prevent future incidents is essential.
Implementing effective waterproofing techniques and establishing a routine maintenance schedule can safeguard your home.
Here are four key actions to evaluate:
Inspect Roof and Gutters: Regularly check for leaks, blockages, or damage to verify water flows away from your home.
Seal Cracks and Gaps: Use caulk or sealants to close any openings where water could seep in, especially around windows and doors.
Maintain Plumbing: Schedule routine checks on pipes and appliances to catch leaks before they cause significant damage.
Install a Sump Pump: If you live in a flood-prone area, investing in a sump pump can help manage excess water effectively.
Frequently Asked Questions
How Can I Tell if Mold Is Present After Water Damage?
You can tell mold’s present by checking for musty odors, visible spots, or excessive moisture. For mold detection, inspect dark, damp areas. Prevent it by ensuring proper ventilation and drying surfaces promptly after water exposure.
Is Homeowners Insurance Likely to Cover Water Damage Repairs?
Homeowners insurance often covers water damage repairs, but it depends on your policy’s coverage limits. To navigate the claim process smoothly, review your policy details and gather necessary documentation before filing your claim.
What Are the Health Risks Associated With Water Damage?
Water damage can expose you to waterborne pathogens and increase respiratory issues. Mold growth thrives in damp areas, leading to allergic reactions and respiratory problems. It’s essential to address water damage promptly to protect your health.
How Long Does It Take for Water Damage to Become Severe?
Water damage can escalate within 24 to 48 hours, with severity indicators like mold growth and structural weakening. You should act fast; your timely response minimizes risks and keeps your home safe and welcoming.
Can I Repair Water Damage Myself, or Should I Hire a Professional?
Can’t you tackle water damage yourself? With some DIY techniques, you might manage minor issues. However, for extensive damage, hiring professional services ensures thorough repairs and prevents further complications, keeping your home safe and sound.
Conclusion
By taking the steps outlined in this guide, you’re not just repairing water damage; you’re rebuilding your home’s resilience. Each action you take symbolizes a brick in a fortress against future floods. As you dry, repair, and reinforce, you’re restoring your living space and strengthening your resolve. Embrace this journey, and remember that every drop of effort you invest today safeguards your sanctuary for tomorrow. Your home can rise anew, just like a phoenix from the ashes.