Addressing mold removal problem effectively is essential to maintaining a safe environment. By following the seven best practices for mold removal, you can greatly reduce health risks and prevent future infestations. Understanding these steps can make all the difference in your approach to mold remediation. Let’s explore how to tackle this issue efficiently.
Key Takeaways
- Conduct a thorough assessment of water damage, identifying affected areas and documenting findings for mold remediation planning.
- Ensure proper ventilation by using fans, dehumidifiers, and opening windows to minimize moisture buildup.
- Wear protective gear like respirators and gloves to safeguard against mold exposure during cleanup.
- Clean and disinfect surfaces with appropriate mold-resistant products, ensuring thorough drying to prevent future growth.
- Act swiftly upon detecting signs of mold, addressing leaks, and maintaining consistent humidity monitoring to prevent recurrence.
Assess the Extent of Water Damage
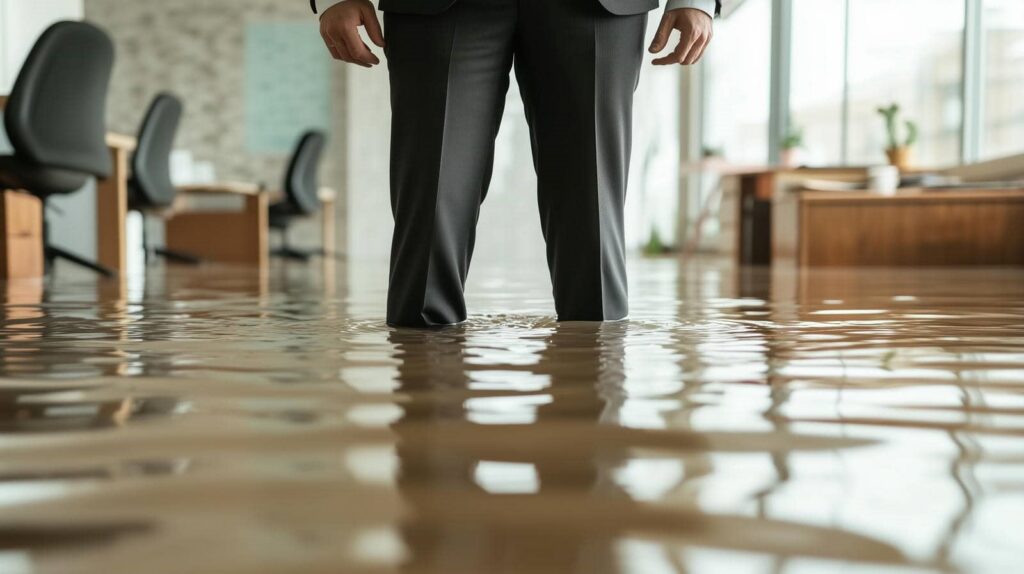
Before you begin mold removal, it’s crucial to assess the extent of water damage to prevent further complications. Start with a thorough water damage assessment, identifying areas affected by moisture.
Use moisture detection techniques like infrared cameras and hygrometers to pinpoint hidden dampness within walls, floors, and ceilings. These tools help you uncover issues that may not be visible to the naked eye, ensuring you tackle the problem at its source.
Once you’ve identified the affected areas, document the extent of the damage. This information will guide your mold remediation strategy and help you prioritize tasks.
Don’t forget to check for signs of mold growth, as it often thrives in areas with excess moisture. By conducting a detailed assessment, you’re setting the stage for effective mold removal and safeguarding your home from further damage.
Ensure Proper Ventilation
Proper ventilation is essential for preventing mold growth after water damage. By ensuring adequate airflow management, you can greatly reduce humidity levels and create an environment less conducive to mold spores.
Start by opening windows and doors to increase natural airflow. If the weather doesn’t permit, consider using fans to circulate air throughout the affected area.
You can also implement ventilation techniques, such as installing exhaust fans in humid areas like bathrooms and kitchens. Dehumidifiers are another effective tool, as they help remove excess moisture from the air.
Make sure to monitor humidity levels regularly; ideally, they should stay between 30% and 60%.
Use Protective Gear
When dealing with mold removal after water damage, using protective gear is essential to ensure your safety and health. Mold spores can cause respiratory issues and other health complications, so you need to take appropriate precautions.
Start by wearing a high-quality respirator that filters out harmful particles. This is vital for protecting your lungs. Next, put on gloves to avoid skin contact with mold and contaminated materials. Consider using goggles as well to shield your eyes from irritants.
Follow all safety guidelines, including wearing long sleeves and pants to minimize skin exposure. It’s also wise to wear disposable coveralls, which can prevent cross-contamination in your home.
Having the right protective equipment isn’t just about compliance; it’s about fostering a safe environment for you and your loved ones. Prioritizing your safety during this process confirms you can effectively tackle the task at hand without compromising your health.
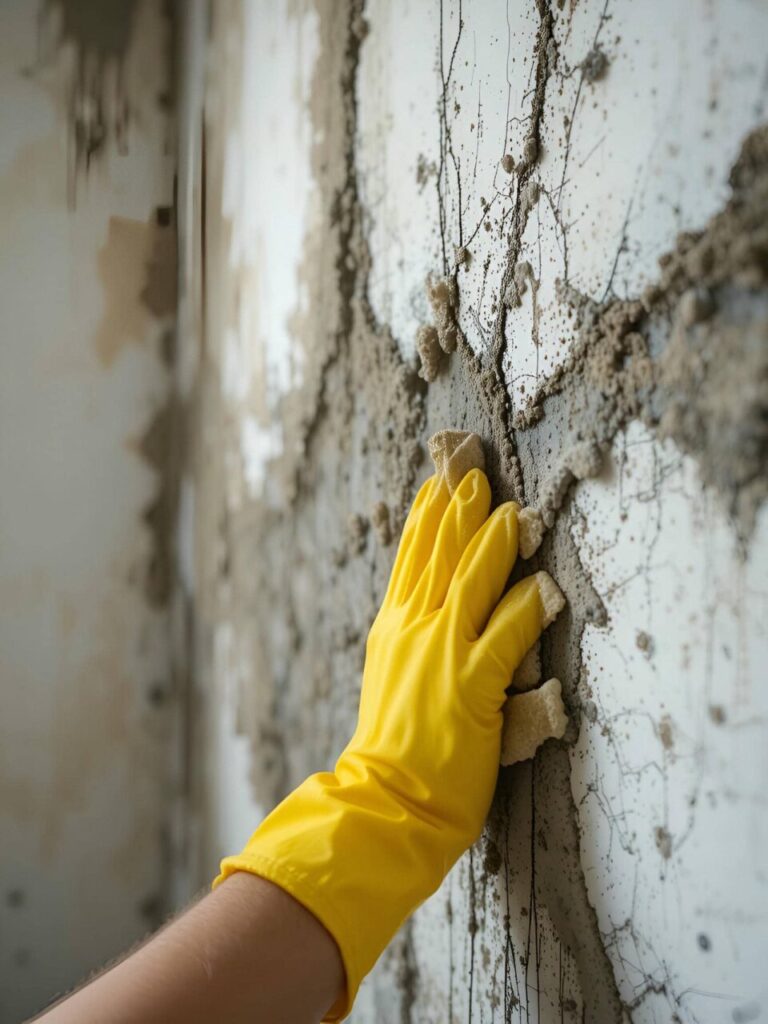
Remove Affected Materials
After ensuring your safety with protective gear, the next step is to remove affected materials that may harbor mold. Identify mold types present in your environment, as different species require specific removal techniques.
For porous materials like drywall or carpet, you often need to discard them entirely, since mold can penetrate deeply, making thorough cleaning impossible. Non-porous surfaces, such as metal or glass, can typically be cleaned and salvaged.
Carefully cut out and bag contaminated materials to prevent spores from spreading during removal. Seal the bags to contain any mold particles.
If you encounter extensive damage or toxic mold types, consider consulting a professional for safe removal. Remember, the goal is to create a clean, mold-free environment that fosters a sense of safety and well-being.
Clean and Disinfect Surfaces
After removing affected materials, you need to clean and disinfect all surfaces to prevent mold recurrence.
Use appropriate cleaning agents that effectively kill mold spores and follow safety precautions, such as wearing gloves and masks.
This step is essential for ensuring a safe and thorough mold removal process.
Use Appropriate Cleaning Agents
To effectively clean and disinfect surfaces affected by mold after water damage, selecting the right cleaning agents is essential.
You’ll want to prioritize products that promote safety and efficiency. Consider the following options:
- Mold-resistant products: These target existing mold and help prevent future growth.
- Eco-friendly cleaners: Opt for solutions that are safe for both your health and the environment, reducing harmful chemical exposure.
- Disinfectants with proven efficacy: Look for products that specifically state their effectiveness against mold and mildew.
Follow Safety Precautions
While cleaning and disinfecting surfaces affected by mold, it’s crucial to prioritize safety precautions to protect yourself and others.
Start by wearing personal protective equipment, such as gloves, goggles, and a mask, to minimize exposure to mold spores and cleaning agents. Ensure proper ventilation in the area to reduce inhalation risks.
When selecting products, choose those specifically designed for mold removal, as they effectively kill spores while supporting mold prevention. Be aware of potential health risks, including respiratory issues and skin irritation, that arise during the cleaning process.
After you’ve cleaned the surfaces, disinfect them thoroughly to eliminate any remaining spores. Following these precautions protects your health and fosters a safer environment for everyone involved.
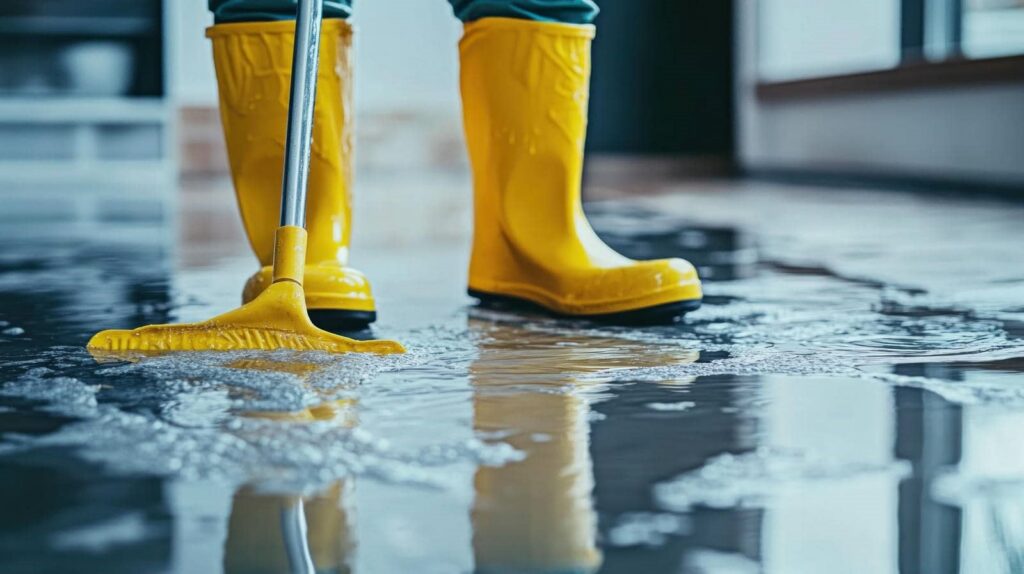
Dry the Area Thoroughly
To prevent mold growth, you need to dry the area thoroughly after water damage.
Use fans to circulate air and expedite the drying process, while also employing dehumidifiers to reduce moisture levels.
Additionally, remove any wet materials, as they can harbor mold spores and prolong the drying time.
Use Fans Effectively
Once you’ve assessed the extent of water damage, using fans effectively becomes essential for drying the area thoroughly.
Proper fan placement and airflow management can greatly speed up the drying process and prevent mold growth. Here are three key strategies:
- Position Fans Strategically: Place fans in corners facing the wet areas to maximize airflow across surfaces.
- Create Cross-Ventilation: Open windows and doors to allow fresh air in while directing fans towards the exits, enhancing air movement throughout the space.
- Adjust Fan Angles: Tilt fans to target specific damp spots, ensuring that every inch of the affected area receives adequate airflow.
Dehumidify the Space
After effectively using fans to promote airflow, it’s time to focus on dehumidifying the space to secure thorough drying. High humidity levels can lead to mold growth, so selecting the right dehumidifier type is vital.
For larger areas, consider using a refrigerant dehumidifier, which efficiently removes moisture from the air. If you’re dealing with a smaller space, a desiccant dehumidifier might be more suitable, as it absorbs moisture without cooling the air.
Monitor humidity levels regularly with a hygrometer to make certain they remain between 30% and 60%. This proactive approach helps prevent mold and creates a healthier environment.
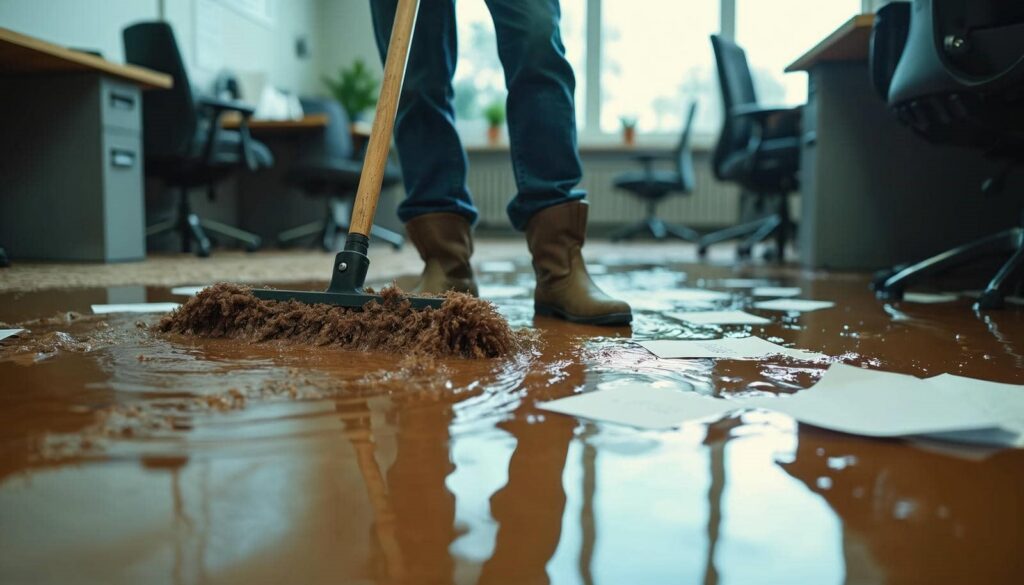
Remove Wet Materials
Before you can effectively tackle mold removal, it’s essential to promptly remove any wet materials from the affected area. This step is vital to prevent mold growth and ensure a safe environment.
Here are some key removal techniques to follow:
- Identify wet materials: Check carpets, upholstery, and drywall for moisture.
- Dispose of damaged items: Safely dispose of any irreparable materials to avoid further contamination.
- Dry the area thoroughly: Use fans, dehumidifiers, and open windows to facilitate drying.
Monitor for Future Mold Growth
Although you’ve successfully removed mold after water damage, staying vigilant is crucial to prevent its return. Implementing effective mold detection techniques can help you identify any new growth early.
Regularly inspect areas prone to moisture, such as basements and bathrooms, for signs of mold or dampness. Long-term monitoring is critical; consider investing in moisture meters or mold detection kits to keep track of humidity levels.
These tools can alert you to conditions that foster mold growth, allowing you to act swiftly. Additionally, ensure proper ventilation in your home to minimize moisture buildup.
Frequently Asked Questions
How Long Does It Take for Mold to Develop After Water Damage?
Mold can start developing within 24 to 48 hours after water damage, depending on various water damage factors like humidity, temperature, and material types. Understanding this mold growth timeline helps you act quickly to prevent serious issues.
Can I Use Bleach to Remove Mold?
You can’t rely solely on bleach to remove mold effectively. While it works on some mold types, its efficacy is limited, and it doesn’t penetrate porous surfaces. Isn’t it better to evaluate more extensive solutions?
What Types of Materials Are Most Prone to Mold Growth?
Wood surfaces and carpet fibers are particularly prone to mold growth due to their porous nature and ability to retain moisture. Keeping these materials dry and well-ventilated can help prevent mold infestations in your space.
Should I Hire a Professional for Mold Removal?
Yes, you should hire a professional for mold remediation. They understand the cost factors involved and can effectively assess the situation, ensuring thorough removal and preventing future growth, which can protect your home and health.
How Can I Prevent Mold After Water Damage?
You can prevent mold after water damage by implementing preventive measures like moisture control. Ensure proper ventilation, use dehumidifiers, and promptly address leaks to maintain a dry environment, greatly reducing the risk of mold growth.
Summary
By following these best practices for mold removal after water damage, you can reclaim your space from unwanted invaders. Think of it as a battle against an unseen enemy; vigilance and swift action are your best allies. Assess the damage, ventilate, protect yourself, and clean thoroughly to ensure a safe environment. Remember, mold thrives in moisture, so keep your home dry and monitor for any signs of resurgence. Don’t hesitate to seek professional help if the situation escalates.