You might think flood damage cleanup is overwhelming, but breaking it down into manageable steps can simplify the process. Start by assessing the damage and ensuring your safety, as these initial steps set the tone for effective recovery. Once you know what you’re dealing with, there are critical practices to follow that can make a significant difference in restoring your space. Let’s explore these steps together to make sure you’re well-prepared for the cleanup ahead.
Key Takeaways
- Conduct a thorough damage assessment, documenting findings with photos and notes for insurance claims and future reference.
- Ensure safety by wearing protective gear and assessing hazards before starting cleanup efforts.
- Remove standing water promptly using pumps and vacuums, followed by drying with fans and dehumidifiers.
- Prevent mold growth by drying affected areas within 24-48 hours and using mold-resistant materials during repairs.
- Prioritize structural repairs and consider hiring licensed professionals for complex issues to ensure safety and compliance.
Assess the Damage
Before you plunge into the cleanup process, it’s essential to assess the damage thoroughly. Start with a damage evaluation, which involves a detailed visual inspection of your property.
Look for signs of water intrusion, mold, or structural compromise. Check walls, floors, and ceilings for discoloration or bubbling—these are indicators that water has seeped in and caused harm.
Document everything you find, as this will help you communicate effectively with your insurance provider. Take photos and notes, ensuring you capture every affected area.
It’s crucial to be methodical; a systematic approach will help you feel more in control during this overwhelming time.
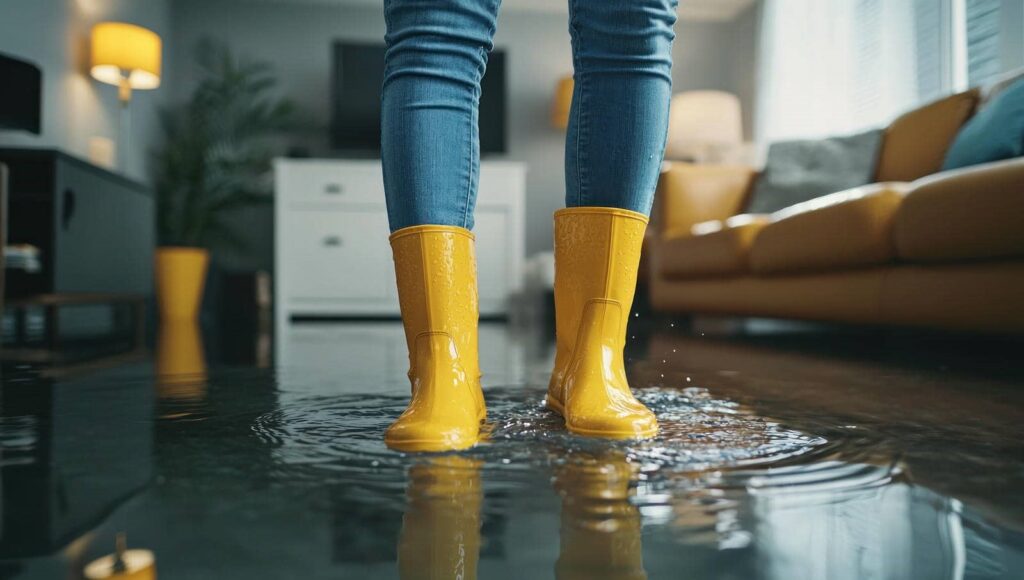
Ensure Safety First
Once you’ve assessed the damage, it’s time to prioritize safety. Begin by conducting a thorough hazard assessment to identify potential dangers like unstable structures, electrical hazards, or contaminated water. Equip yourself with proper safety equipment such as gloves, boots, masks, and goggles.
This isn’t just about protecting yourself; it’s about ensuring you can tackle the cleanup effectively without risking your well-being.
Before diving in, communicate with family members or anyone helping you. Make sure everyone understands the safety protocols. If you’re unsure about anything, don’t hesitate to reach out to professionals. They can provide guidance and support, helping you feel connected during this challenging time.
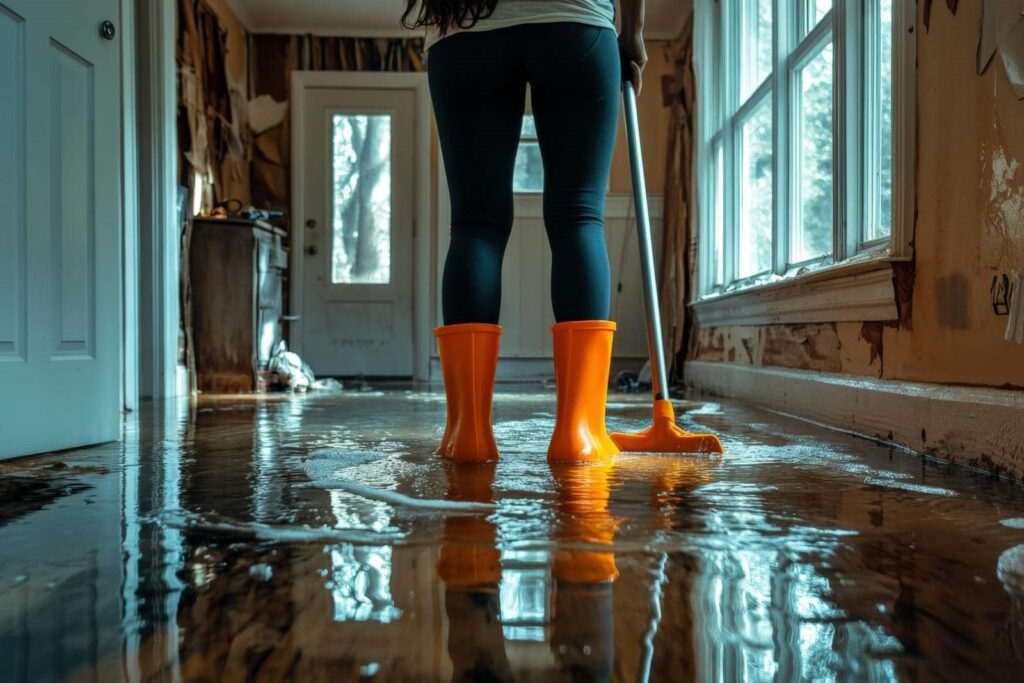
Remove Standing Water
Once you’ve ensured your safety, it’s vital to remove standing water as quickly as possible.
Using sump pumps and wet vacuums will help you tackle this task effectively, while also preventing further damage and mold growth.
Don’t forget to clear away any debris that may hinder your efforts, as a clean space is essential for efficient water removal.
Use Sump Pumps
A sump pump is an essential tool for effectively removing standing water after a flood. When selecting a sump pump, consider factors like the pump’s capacity and your specific needs. Choosing the right model can make a significant difference in your cleanup efforts.
Once you have your pump, regular sump pump maintenance is vital to ensure it operates smoothly when you need it most. Check the pump for debris and test it periodically to ensure it’s ready for action.
During the cleanup process, stay connected with your community for support and advice. Remember, you’re not alone in this; many have faced similar challenges, and sharing experiences can help you navigate this difficult time together.
Employ Wet Vacuums
Employing wet vacuums can be a game-changer when it comes to removing standing water after a flood. These powerful tools help draw out moisture quickly, minimizing damage to your home.
Start by using effective wet vacuum techniques: work in small sections, making certain the vacuum’s nozzle is in contact with the water. Be certain to empty the tank frequently to maintain suction and efficiency.
Don’t forget about vacuum maintenance; regularly check and clean filters to ensure peak performance.
After you’ve removed the water, take a moment to assess the area and check for lingering moisture. You’re not alone in this; by taking these steps, you’re actively protecting your space and fostering a sense of safety for you and your loved ones.
Remove Debris Quickly
As you tackle flood cleanup, removing debris quickly is essential to preventing further damage and ensuring safety.
First, identify various debris types, such as mud, fallen branches, and damaged furniture. Each type requires a tailored approach for effective removal.
Start by wearing protective gear, including gloves and boots, to keep yourself safe. Use shovels, brooms, or rakes to gather larger debris, and be sure to dispose of it properly.
For smaller particles, a vacuum or broom can help with rapid removal. Remember, the sooner you clear the area, the less chance there is for mold and structural damage.
Dry Out Affected Areas
After the water recedes, it’s vital to start drying out affected areas promptly to prevent mold growth and further damage.
Begin by removing any remaining moisture with towels or mops. Next, set up fans to enhance air circulation; this helps speed up the drying process. Aim for a well-ventilated environment, opening windows if possible to let fresh air in.
Using a dehumidifier is important in this phase. It pulls moisture from the air, greatly reducing humidity levels and accelerating drying. Make sure to empty the water collection tank regularly to maintain efficiency.
Monitor the affected areas closely over the next few days, checking for any lingering dampness.
Clean and Disinfect Surfaces
Once you’ve thoroughly dried out the affected areas, the next step is to clean and disinfect surfaces to eliminate any lingering contaminants.
Start by gathering effective cleaning products that are suitable for various surfaces, such as bleach solutions or specialized disinfectants. Make sure to wear protective gear, like gloves and masks, to safeguard yourself during this process.
Begin with high-touch areas, like doorknobs, light switches, and countertops. Use a scrub brush or cloth to apply your cleaning solution, ensuring you cover every inch.
Allow the cleaning products to sit for the recommended time to achieve proper surface sanitization.
Afterward, rinse surfaces with clean water and dry thoroughly to prevent mold growth.
Salvage Valuable Items
As you begin the process of salvaging valuable items, start by prioritizing those that hold the most significance or financial value.
Take the time to assess each item’s condition thoroughly, as some may be worth saving while others may not be.
Once you’ve identified what can be restored, focus on cleaning and restoring them properly to preserve their integrity.
Prioritize High-Value Items
When faced with flood damage, prioritizing high-value items can make a significant difference in your recovery process.
Start by identifying what matters most to you—this could be family heirlooms, important documents, or valuable electronics. Create a list to help with item prioritization, ensuring you focus on items that hold sentimental or financial value.
Once you’ve identified these treasures, consider their high-value storage options; this might mean moving them to a safe, elevated area or utilizing waterproof containers.
Assess Damage Thoroughly
After safeguarding your high-value items, it’s time to assess the damage thoroughly to salvage what you can.
Use effective damage evaluation techniques to determine the condition of your belongings. Start by documenting everything for your insurance claim considerations; visual proof can make a significant difference.
Here are three key steps to follow:
Inspect: Carefully examine each item for water damage, mold growth, or structural issues.
Document: Take clear photos and write detailed descriptions to support your insurance claim.
Prioritize: Identify which items are worth restoring based on their value and sentimental importance.
Clean and Restore Properly
Start the cleaning and restoration process promptly to salvage valuable items before further damage occurs.
Carefully assess what can be saved, focusing on sentimental items like photographs and heirlooms. Gently remove these treasures from the affected area, taking care not to cause additional harm.
Use restoration materials like specialized cleaning solutions and drying equipment to treat these items properly. If you have flood insurance, document the damage thoroughly to facilitate your claim.
Remember, your belongings carry emotional weight, and restoring them can help you rebuild your sense of home. By taking these steps, you not only protect your possessions but also nurture your emotional well-being during this challenging time.
Stay methodical, compassionate, and hopeful as you move forward.
Address Mold Prevention
Although flooding can leave behind significant damage, addressing mold prevention is vital to safeguarding your health and property.
Mold growth can occur quickly in damp environments, so implementing effective prevention strategies is imperative. Here are three key steps you can take:
Dry Out Your Space: Confirm all affected areas are thoroughly dried within 24-48 hours to inhibit mold development.
Ventilate Properly: Increase air circulation in your home by opening windows and using fans. This will help reduce humidity levels.
Use Mold-Resistant Products: When repairing or restoring, consider using mold-resistant paints and materials to provide an extra layer of protection.
Repair Structural Damage
After addressing mold prevention, it’s essential to assess the severity of the structural damage your property has sustained.
You’ll want to contemplate hiring professional contractors who can ensure the repairs meet safety standards.
Taking these steps protects your home and gives you peace of mind during a challenging time.
Assessing Damage Severity
As you begin to assess the damage from flooding, it’s essential to identify the structural integrity of your property.
Understanding the severity of the damage can help you make informed decisions moving forward.
Here are three damage assessment techniques to evaluate:
Visual Inspection: Look for cracks in walls or ceilings, sagging floors, and warped doors or windows.
Moisture Detection: Use a moisture meter to check hidden areas like behind walls or under floors.
Foundation Evaluation: Inspect the foundation for shifts or settling that might indicate serious issues.
Conducting a thorough flood impact analysis will guide you in prioritizing repairs and ensuring your home remains safe and welcoming for everyone who lives there.
Hiring Professional Contractors
How do you know when it’s time to bring in professional contractors for structural repairs after a flood? If you notice significant damage like sagging beams, cracks in the foundation, or warped walls, it’s essential to act.
Look for contractors with the right qualifications—licensed, insured, and experienced in flood recovery. They’ll assess the damage and provide a detailed plan, including project timelines, to ensure you’re informed every step of the way.
Don’t hesitate to ask for references; a reputable contractor will gladly share past successes.
Ensuring Safety Standards
Safety is paramount when it comes to repairing structural damage after a flood. Before you begin, make certain you’ve got the right safety equipment and a clear understanding of emergency procedures.
Here are three essential steps to follow:
Assess the Area: Inspect for hazards like weakened walls or exposed wiring. Always prioritize your safety first.
Wear Protective Gear: Use gloves, goggles, and masks to protect yourself from mold and debris. This minimizes health risks during cleanup.
Follow Emergency Protocols: Have a plan in place for emergencies. This could involve knowing how to shut off utilities or evacuate if necessary.
Document the Cleanup Process
Documenting the cleanup process after a flood is essential for ensuring a thorough recovery and for any potential insurance claims. Start by creating a detailed cleanup timeline that outlines each step of the process. This helps you stay organized and provides a clear record of your efforts.
Take thorough photo documentation at every stage—capturing damaged areas, removal of debris, and the restoration of your space. These images not only serve as proof of damage for insurance purposes but also allow you to reflect on your progress. Be sure to label each photo with dates and descriptions to maintain clarity.
This compassionate approach to documenting your journey fosters a sense of belonging in the recovery community, as you can share your experiences and support others facing similar challenges. Remember, each step you record is a reflection of your resilience and determination to restore your home.
Consult Professionals for Assistance
While maneuvering through the aftermath of a flood can feel overwhelming, consulting professionals for assistance is an essential step toward effective recovery.
Engaging flood restoration experts and emergency response teams eases the burden and ensures safety and efficiency.
Here are three key reasons to seek professional help:
Expertise: Flood restoration experts possess specialized knowledge and equipment to handle water damage effectively, preventing further issues like mold growth.
Safety: Emergency response teams are trained to navigate hazardous conditions, ensuring your safety while addressing potential dangers in your home.
Time and Resources: Professionals streamline the cleanup process, allowing you to focus on your family’s well-being instead of getting lost in the details.
Frequently Asked Questions
How Can I Prevent Future Flood Damage in My Home?
To prevent future flood damage, you should implement effective flood proofing techniques and invest in proper drainage solutions. Regularly inspect your property’s landscape and systems to ensure they’re working efficiently, protecting your home and loved ones.
What Insurance Coverage Should I Have for Flood Damage?
You’ll want to contemplate flood insurance, especially if you live near water. Look into coverage types like building and contents insurance. It’ll help protect your home and belongings, ensuring you’re not left high and dry.
How Long Does the Cleanup Process Typically Take?
The cleanup duration varies, but you can expect flood recovery to take several days to weeks. Factors like damage severity and weather conditions influence the timeline, so patience and thoroughness are essential during this challenging process.
Are There Any Government Assistance Programs for Flood Victims?
Yes, there are federal aid programs offering disaster relief for flood victims. You should check with FEMA or your local government for assistance options, including grants and loans, to help you recover and rebuild effectively.
What Items Are Typically Not Salvageable After a Flood?
After a flood, you’ll find that flood debris often renders items like carpets, mattresses, and certain electronics unsalvageable. It’s tough to let go, but prioritizing safety is essential for your well-being and home recovery.
Recap
In the aftermath of a flood, following these cleanup practices is your lifeline to recovery. By evaluating damage, ensuring safety, and efficiently removing water, you’re not just restoring your space—you’re reclaiming peace of mind. Remember, drying out areas quickly and preventing mold is essential; it’s like giving your home a fresh start. Don’t hesitate to seek professional help when needed, and keep thorough documentation for insurance claims. Together, you’ll navigate the storm and emerge stronger.