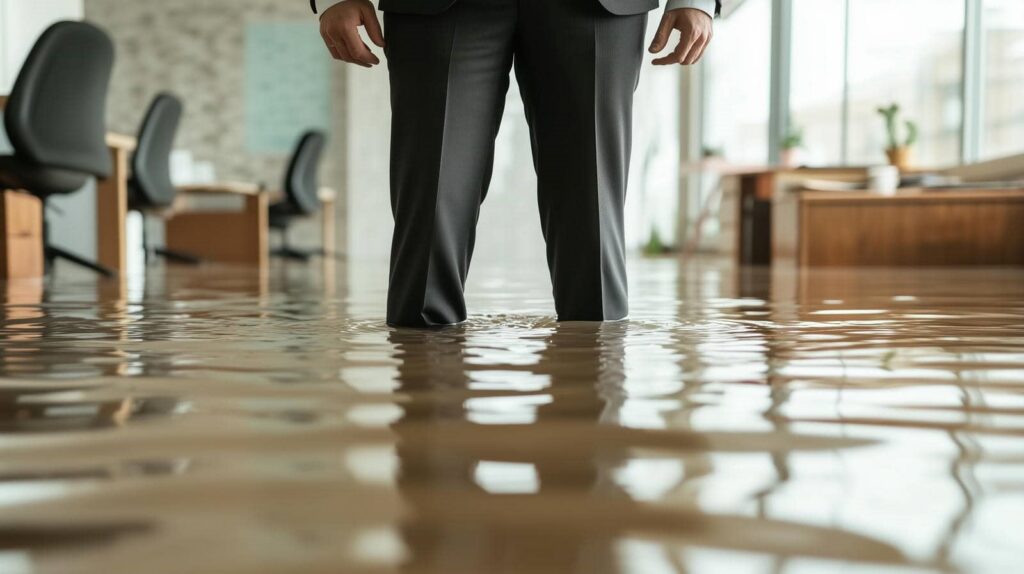
When faced with water damage, your immediate response can make all the difference. Evaluating the extent of the damage accurately is essential, but it’s only the first step. You’ll need to ensure safety, shut off utilities, and remove standing water efficiently. Each technique plays a critical role in the restoration process. Understanding these methods will not only aid in recovery but also help you prevent future incidents. Let’s explore these techniques in detail.
Key Takeaways
- Conduct a thorough water damage assessment using moisture detection tools to identify the extent of the damage.
- Act quickly to remove standing water using high-capacity pumps or wet/dry vacuums to prevent mold growth.
- Turn off the electricity and water supply to eliminate hazards and facilitate safe restoration efforts.
- Clean and disinfect all affected surfaces with effective cleaning solutions to eliminate contaminants and prevent health risks.
- Document damage meticulously with photos for insurance claims and engage professionals for hidden damage evaluations as needed.
Assessing the Extent of Water Damage
How can you effectively assess the extent of water damage in your property? Start with a thorough water damage assessment, focusing on affected areas such as ceilings, walls, and floors.
Use moisture detection tools like infrared cameras and moisture meters to identify hidden damage. These devices help you pinpoint moisture levels, revealing where water may have infiltrated and caused structural harm.
Carefully inspect for discoloration, warping, or mold growth, as these are indicators of prolonged exposure to moisture. Document your findings meticulously, noting specific locations and severity. This will aid in your restoration planning and provide clarity for any insurance claims.
Engaging professionals for a detailed evaluation can also enhance your assessment. They possess advanced equipment and expertise to ensure no hidden damage goes unnoticed.
Ensuring Safety and Evacuating the Area
Before proceeding with any water damage restoration efforts, it’s crucial to prioritize safety and evacuate the area if necessary.
Start by evaluating the immediate risks, such as structural instability or electrical hazards. Follow established emergency protocols to ensure everyone’s well-being. If you identify significant dangers, activate your evacuation routes promptly, guiding individuals to safe locations away from affected zones.
Communicate clearly with all occupants, providing instructions and updates as needed. Be certain to account for everyone, especially vulnerable individuals, and assist them in evacuating.
If you’re in a multi-story building, use the designated stairwells instead of elevators, which can malfunction during emergencies.
Once you’ve evacuated, wait for professionals to evaluate the situation before re-entering. Remember, safety is your primary concern; rushing back to salvage belongings can lead to severe consequences.
Prioritize your safety and that of others as you navigate this challenging situation.
Shutting Off Water Supply and Electricity
When facing water damage, it’s vital to first locate the main shut-off valve to stop the flow of water.
Next, turn off the circuit breaker to eliminate any risk of electrical hazards.
These steps are essential for ensuring safety and preventing further damage during restoration efforts.
Locate Main Shut-off Valve
In the midst of a water damage crisis, swiftly locating the main shut-off valve is essential for minimizing further harm.
By identifying the shut-off quickly, you can prevent additional water loss and protect your property.
Here are three steps to guide you:
Check Common Areas: Main valve locations are often found in basements, crawl spaces, or near water heaters. Familiarize yourself with these areas.
Inspect the Valve: Look for a round or rectangular knob, usually labeled “Main” or “Shut Off.” Verify it’s accessible and operational.
Document Its Location: Once identified, mark the main valve location on a home diagram or label it clearly for future emergencies.
Taking these actions can greatly reduce damage and provide peace of mind during a crisis.
Turn Off Circuit Breaker
As water begins to infiltrate your property, it’s essential to turn off the circuit breaker to prevent electrical hazards. This step is vital for ensuring circuit safety and protecting both yourself and your home.
Locate the main circuit panel and identify the breaker that controls the affected area. Flip the switch to the “off” position, ensuring no electricity flows to potentially wet outlets or appliances.
While you’re at it, consider reviewing your breaker maintenance routine; regular checks can prevent future issues and enhance safety.
Once the breaker is off, you can focus on addressing the water damage without the risk of electrical shock. Prioritizing these actions fosters a sense of security for you and your loved ones during an emergency.
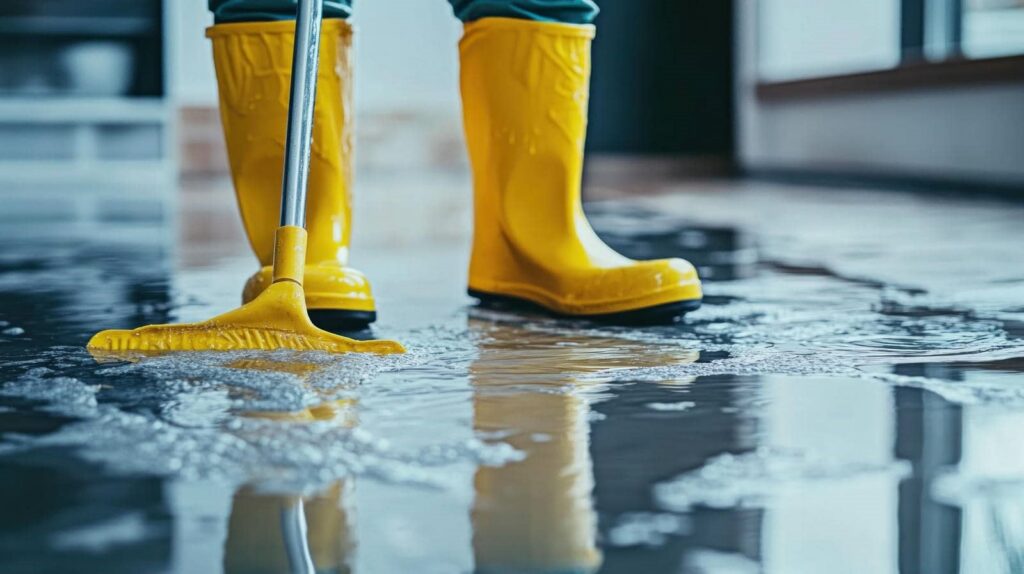
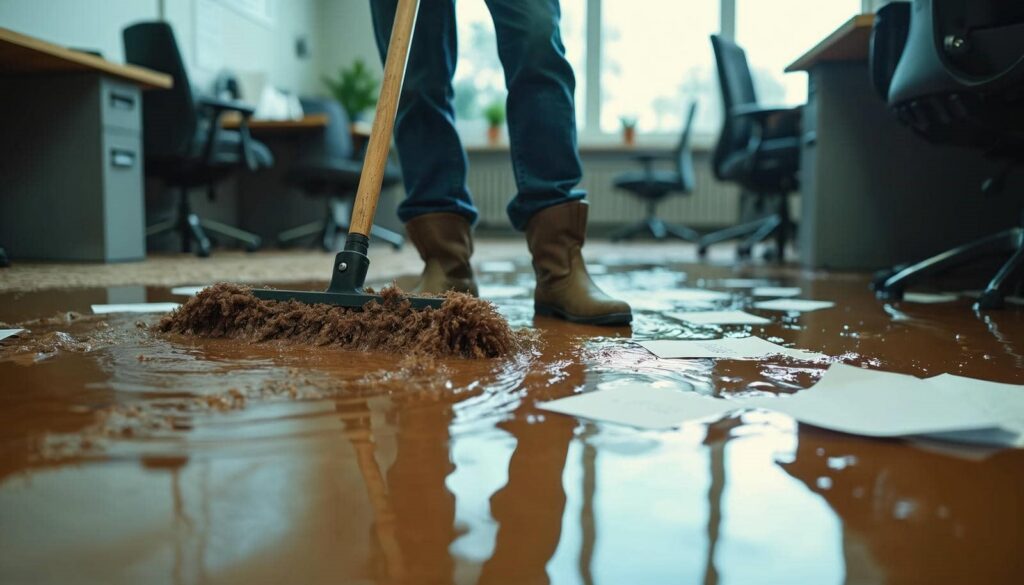
Removing Standing Water Quickly
Swiftly removing standing water is crucial to mitigating damage and preventing mold growth. Effective water removal begins immediately, using appropriate extraction methods to ensure a thorough job.
Here are three essential steps to follow:
Assess the Situation: Identify the extent of the flooding and determine the source of the water. This helps you prioritize your actions.
Use Efficient Equipment: Invest in a high-capacity pump or wet/dry vacuum for effective water extraction. These tools facilitate rapid removal and minimize damage to your property.
Monitor Water Levels: Keep an eye on remaining water and reapply extraction methods as necessary. Continuous assessment ensures you don’t overlook any hidden pockets of water.
Drying Out Affected Areas
To effectively dry out affected areas after water damage, you must act quickly and methodically. Start by employing dehumidification methods to reduce moisture levels in the air. Use commercial dehumidifiers designed for rapid water extraction, ensuring you monitor humidity levels regularly.
Next, enhance air circulation throughout the space by opening windows and doors, if the weather permits, or strategically placing fans to promote airflow. This will help speed up the drying process and prevent mold growth.
Pay special attention to hidden areas like behind walls and under floors; these can trap moisture and lead to long-term issues. Consider using moisture meters to assess dampness in various materials, ensuring no area is overlooked.
Cleaning and Sanitizing Surfaces
Cleaning and sanitizing surfaces after water damage is essential to prevent mold growth and ensure a safe environment.
You’ll want to use effective cleaning solutions that eliminate contaminants and disinfect affected areas thoroughly.
Understanding the importance of proper sanitization techniques will guide you in restoring your space to its original condition.
Importance of Surface Sanitization
Effective surface sanitization is essential after water damage, as it considerably reduces the risk of mold growth and bacterial contamination.
Implementing effective sanitation protocols ensures a safe environment for you and your loved ones. Here are three critical steps to follow:
Use Surface Disinfectants: Choose appropriate disinfectants to eliminate pathogens effectively. Make sure they meet industry standards for efficacy.
Thoroughly Clean Surfaces: Remove debris and organic material before applying disinfectants, as these can hinder their effectiveness.
Allow Proper Contact Time: Follow the manufacturer’s instructions regarding how long to leave disinfectants on surfaces to achieve ideal sanitization.
Recommended Cleaning Solutions
After ensuring surfaces are properly sanitized, selecting the right cleaning solutions is essential for maintaining a safe environment.
You should consider eco-friendly solutions that effectively eliminate contaminants without harming the planet. Products containing natural ingredients, such as vinegar or baking soda, can serve as excellent DIY cleaners, offering both safety and efficacy.
When using these solutions, pay close attention to the manufacturer’s guidelines and the specific surfaces you’re treating. For porous materials, a more robust approach may be necessary, while delicate surfaces might require gentler methods.
Always test a small area first to prevent damage. By choosing sustainable and effective cleaning solutions, you contribute to a healthier home and reinforce your commitment to responsible restoration practices.
Preventing Future Water Damage
While water damage can be devastating, taking proactive steps can greatly reduce the risk of future incidents.
Implementing effective waterproofing measures and drainage solutions is vital in safeguarding your property. Here are three key strategies you should consider:
Inspect and Maintain Gutters: Regularly clean and repair gutters to ensure proper water flow and prevent overflow that can lead to foundation damage.
Install Sump Pumps: A sump pump can effectively remove excess water from your basement or crawl space, reducing the likelihood of flooding during heavy rains.
Seal Leaks and Cracks: Regularly check for and seal any gaps or cracks in your foundation and walls. This prevents water infiltration and minimizes the risk of future damage.
Frequently Asked Questions
What Are the Signs of Hidden Water Damage in a Home?
You’ll notice signs of hidden water damage, like water stains on walls or ceilings, and musty odors throughout your home. These indicators often suggest moisture issues that require immediate attention to prevent further damage.
How Can I File an Insurance Claim for Water Damage?
To file your water damage claim, review your insurance policy for coverage details, gather required documentation, and initiate the claim process by contacting your insurer. Be prepared to provide evidence of the damage for assessment.
Can I Use My Vacuum to Remove Water?
Your vacuum’s a trusty steed in water extraction, but not all types are suited for the task. Wet/dry vacuums excel here; make certain you’re using the right equipment to prevent damage and enhance efficiency.
What Should I Do if Mold Starts to Grow?
If mold starts to grow, act quickly. Use mold removal methods like scrubbing surfaces with a diluted bleach solution. Apply mold prevention tips, such as maintaining low humidity and improving ventilation, to prevent future outbreaks.
How Long Does It Take for a Home to Dry Completely?
Your home’s drying time typically ranges from 3 to 7 days, depending on moisture levels. Imagine warm air circulating, pulling dampness away, restoring comfort as you watch the process transform your space back to normal.
Review
In the wake of water damage, think of your space as a once-vibrant garden now drenched in unexpected rain. By swiftly implementing these restoration techniques, you can nurture it back to health, ensuring it flourishes once more. Remember, every step you take—from evaluating damage to sanitizing surfaces—acts like sunlight breaking through the clouds, promoting recovery and growth. Don’t just restore; fortify your sanctuary against future storms, allowing it to thrive in the face of adversity.