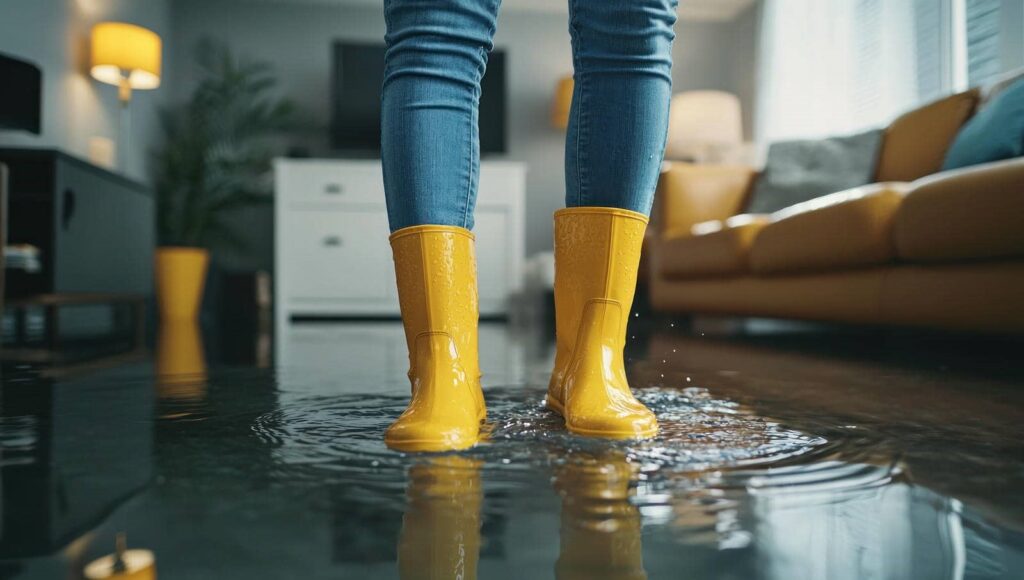
When faced with water damage, it’s vital to act swiftly and strategically. You need to assess the extent of the damage before taking any further steps. Turning off the electricity and water supply is essential for safety. Once you’ve done that, effective removal of standing water becomes your top priority. Understanding these initial damage cleanup steps will prepare you for the subsequent actions needed to restore your space effectively. What comes next can make all the difference.
Key Takeaways
- Turn off the electricity and water supply to prevent hazards before starting the cleanup process.
- Use a sump pump for large water volumes and a water vacuum for smaller amounts of standing water.
- Employ fans and dehumidifiers to enhance air circulation and reduce humidity levels for effective drying.
- Clean affected surfaces with mild detergents or vinegar solutions, ensuring thorough coverage to prevent mold growth.
- Regularly check and monitor moisture levels to ensure complete drying and prevent future water damage issues.
Assessing the Extent of Water Damage
When you experience water damage, the first step is evaluating its extent to determine the right cleanup approach.
Begin with visual inspection techniques, carefully examining walls, ceilings, and floors for discoloration, warping, or mold growth. These signs can indicate the severity of the damage and help prioritize your response.
Next, assess structural integrity by checking beams, joists, and support structures for any signs of weakness or deterioration. Look for sagging or soft spots that may compromise safety. If you notice significant damage, it’s crucial to document your findings for insurance purposes.
Consider using moisture meters to gauge hidden water levels in materials.
This thorough assessment helps determine the necessary cleanup measures and fosters a sense of community, as sharing your findings with professionals or neighbors can lead to collaborative solutions.
Your proactive approach will help ensure a safe and effective recovery.
Turning Off Electricity and Water Supply
Before you begin any cleanup efforts, it’s essential to turn off the electricity and water supply to prevent further hazards. This important step is part of your safety precautions and ensures that you’re working in a secure environment.
Locate your main electrical panel and switch off the power to the affected areas. If you’re unsure, it’s safer to turn off the entire house’s electricity.
Next, shut off the main water supply valve, usually found near the water meter. This action prevents additional water from complicating your cleanup efforts.
Always keep in mind that these emergency procedures are critical for your safety and that of those around you.
If you notice sparks or smell gas, evacuate immediately and contact emergency services. Taking these initial steps protects you and sets the stage for an effective and efficient water damage cleanup process.
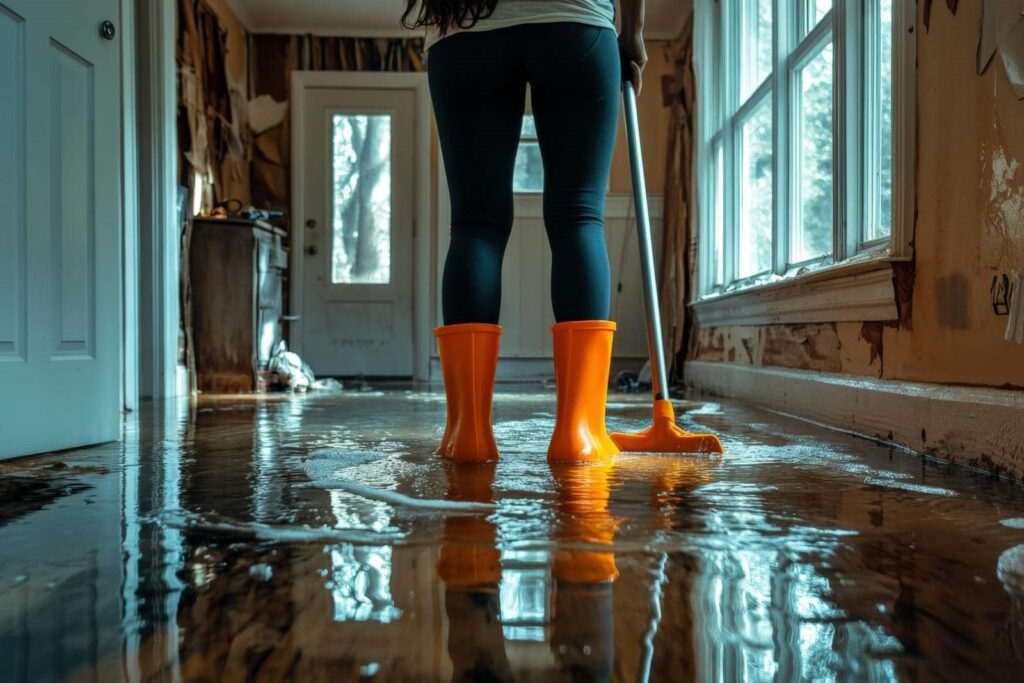
Removing Standing Water Effectively
Removing standing water effectively is vital in preventing further damage and mitigating mold growth. Start by evaluating the situation to determine the volume of water. If it’s significant, use a sump pump to quickly extract water from the area. Position the pump at the lowest point to ensure it drains safely away from your home.
For smaller amounts, a water vacuum can be highly effective. These vacuums are designed to handle liquid, allowing you to suck up water swiftly and efficiently.
As you work, wear protective gear like gloves and boots to stay safe. Pay attention to corners and hidden spaces where water can collect.
After removing most of the water, you might need to repeat the process to verify the area is completely dry. By tackling standing water promptly, you’re taking a vital step in protecting your home and maintaining a healthy living environment.
Drying Out Affected Areas
Once you’ve removed standing water, it’s essential to assess moisture levels in the affected areas.
You’ll need to use fans effectively to promote air circulation and employ dehumidifiers properly to extract excess humidity.
This methodical approach ensures thorough drying and minimizes the risk of mold growth.
Assessing Moisture Levels
To effectively assess moisture levels in water-damaged areas, you’ll want to start by using a moisture meter, which provides immediate and accurate readings.
Begin by testing various surfaces, including walls, floors, and furniture, to pinpoint the most affected areas. Make certain to document your findings, as this will help you track your progress during the drying process.
Additionally, monitor the humidity levels in the space; ideally, you want them to be below 60%. If humidity remains high, it could hinder drying efforts and promote mold growth.
Regularly checking moisture levels will ensure you address the problem thoroughly, fostering a healthier environment for you and your loved ones.
Stay proactive, and you’ll regain control over your space.
Using Fans Effectively
After evaluating moisture levels in your home, the next step is effectively using fans to dry out the affected areas.
Start by strategically positioning your fans to ensure optimal airflow. Place one fan facing the wet surface, such as a wall or carpet, while positioning additional fans in a way that guides the airflow toward the moist areas. This creates a cross-ventilation effect, accelerating the drying process.
Keep fans running continuously for at least 24 to 48 hours, checking moisture levels regularly. If possible, angle the fans slightly upwards to enhance circulation.
Employing Dehumidifiers Properly
Dehumidifiers are essential tools in your water damage cleanup arsenal, especially when it comes to drying out affected areas.
To maximize their effectiveness, focus on strategic dehumidifier placement. Position the unit centrally in the affected space, ensuring it’s not obstructed by furniture or walls. This allows for ideal airflow and efficient moisture control.
Run the dehumidifier continuously, checking the water reservoir regularly to prevent overflow. If possible, connect it to a drainage hose for uninterrupted operation.
Monitor humidity levels with a hygrometer; aim for a relative humidity below 60%. Remember, patience is key—drying out spaces can take time.
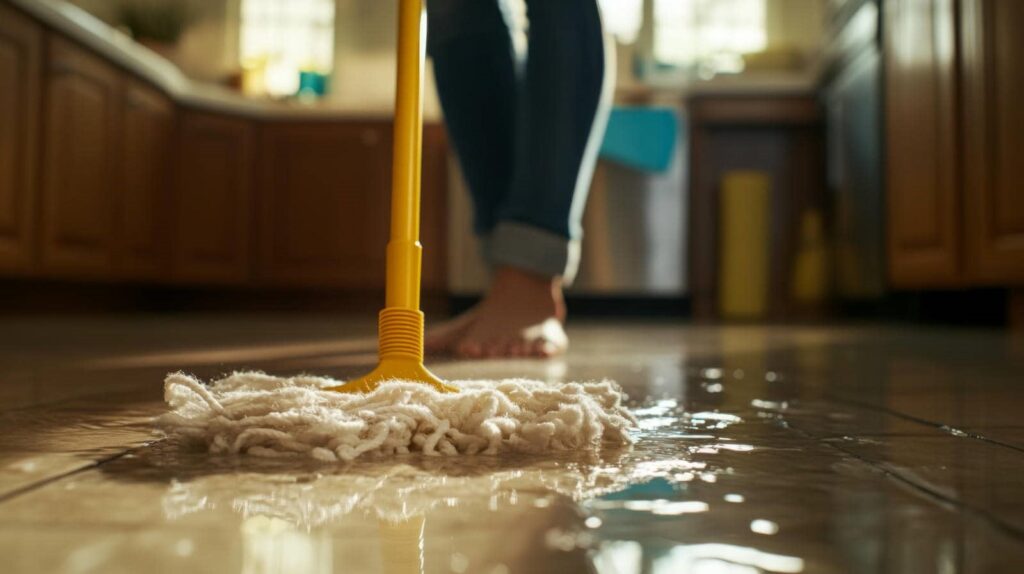
Cleaning and Disinfecting Surfaces
Once you’ve removed excess water, it’s crucial to focus on cleaning and disinfecting surfaces to prevent mold growth and lingering odors.
Start by gathering safe cleaning products, such as mild detergents or vinegar solutions, which effectively eliminate contaminants without harming your environment.
Use surface sanitization techniques, such as scrubbing with a brush for textured areas and soaking smooth surfaces, to ensure complete coverage. Pay special attention to corners and crevices, where moisture can linger. After scrubbing, rinse surfaces thoroughly with clean water to remove any residue.
Next, apply a disinfectant that’s appropriate for the materials you’re cleaning, following the manufacturer’s instructions for dwell time—this allows the product to work effectively.
Finally, allow surfaces to air dry completely to discourage mold development. By committing to these steps, you’ll create a cleaner, safer space for you and your loved ones.
Salvaging Furniture and Personal Belongings
Salvaging furniture and personal belongings after water damage can greatly impact your recovery process. Start by evaluating the extent of the damage. If your furniture is only slightly damp, you might be able to save it with immediate action. Remove it from the affected area, and dry it thoroughly.
For upholstered items, consider professional cleaning, as mold can develop quickly. For wooden furniture, clean surfaces with a mixture of water and vinegar to prevent warping. If there’s significant damage, you may need to explore furniture restoration options, such as refinishing or reupholstering.
Personal belongings like books and photographs can often be saved by carefully drying them out. Place them in a well-ventilated area, or use a fan to aid the drying process.
Preventing Mold Growth
To effectively prevent mold growth after water damage, it’s vital to act quickly and take specific steps to reduce moisture levels in your home.
Start by drying out any wet areas within 24-48 hours to minimize the risk of mold spores developing. Use fans, dehumidifiers, and open windows to enhance air circulation and promote evaporation.
Humidity control is important; aim to keep indoor humidity below 60%. Regularly check damp areas like basements, bathrooms, and kitchens. If you spot any leaks, fix them immediately to prevent more water accumulation.
Consider using mold-resistant products for repairs and renovations, which can provide additional protection.
Finally, ensure proper ventilation in your home to inhibit mold growth. By being proactive and diligent, you’ll create a safer, healthier environment for you and your loved ones, reducing the chances of mold taking hold in your living spaces.
Repairing Water-Damaged Walls and Ceilings
When water damage affects your walls and ceilings, addressing the issue promptly is essential for restoring your home’s integrity. Start by evaluating the extent of the damage; if the drywall is sagging or shows signs of mold, you may need to remove and replace it.
Use a utility knife to cut out the damaged sections, ensuring clean edges for patching drywall. Once you’ve removed the compromised material, install new drywall pieces and secure them with screws.
Next, tape the seams and apply joint compound to create a smooth finish. Allow it to dry, then sand the surface until it’s even.
After cleaning up dust, it’s time for repainting surfaces. Choose a high-quality paint that matches your existing color and provides moisture resistance. This enhances the aesthetic and adds a layer of protection against future water damage.
Following these steps will help restore your walls and ceilings effectively.
Restoring Flooring After Water Damage
After experiencing water damage, restoring your flooring can seem overwhelming, but taking immediate action can save you time and money.
Start by evaluating your flooring materials. Solid hardwood may need to be replaced if severely warped, while engineered wood or laminate might be salvageable through drying and refinishing.
Use restoration techniques such as removing wet materials and employing fans and dehumidifiers to expedite drying. If you have carpet, consider professional cleaning or replacement if it’s soaked through.
Once dried, inspect for mold or mildew and treat affected areas with appropriate solutions.
For tile or vinyl, clean thoroughly and replace any damaged sections.
Finally, apply a sealant on hardwood or laminate floors to protect against future moisture issues.
Implementing Preventative Measures for the Future
To prevent future water damage, you should prioritize regular maintenance checks throughout your home, focusing on plumbing and roofs.
Installing water sensors in key areas can also provide early warnings of leaks, giving you a chance to act before damage occurs.
Regular Maintenance Checks
While you may not think about it daily, conducting regular maintenance checks on your property is essential for preventing water damage in the long run.
Start by scheduling routine inspections of your roof, gutters, and plumbing systems. Look for signs of wear, leaks, or blockages that could lead to bigger issues.
Seasonal upkeep is vital, too; after heavy rain or snow, check for any new water intrusion or moisture buildup.
Don’t forget to inspect your appliances and their hoses regularly, as these are often overlooked culprits.
Install Water Sensors
Regular maintenance checks play an essential role in keeping your home safe, but taking proactive steps can further safeguard your property from water damage.
Installing smart sensors is one of the most effective preventative measures you can take. These devices monitor moisture levels in vulnerable areas, such as basements and near appliances. When they detect water, they send immediate flood alerts to your smartphone or another device, allowing you to act quickly.
This quick response can minimize damage and reduce repair costs considerably. Furthermore, integrating these sensors into your home automation system enhances your peace of mind, knowing you’re protected.
Frequently Asked Questions
How Long Does It Take for Water Damage to Show Effects?
Water damage effects can show within hours to days, depending on exposure. Early warning signs like discoloration, musty odors, or warping indicate problems. A swift response is essential for minimizing long-term damage and costs.
Can I Use a Regular Vacuum to Remove Water?
Using a regular vacuum to remove water isn’t safe. For instance, if your basement floods, a wet vacuum would effectively handle water extraction, ensuring you avoid electrical hazards and achieve a thorough cleanup.
What Personal Protective Equipment Should I Wear During Cleanup?
During cleanup, wear protective gloves and safety goggles to shield your skin and eyes from contaminants. This ensures your safety while you tackle the task, allowing you to work confidently and effectively.
Is It Safe to Return Home After Water Damage?
It’s not safe to return home until a thorough home inspection confirms water safety. Check for structural issues, mold, and electrical hazards first. Prioritize your family’s health by ensuring a secure environment before moving back in.
How Can I Tell if My Walls Are Structurally Compromised?
If you notice cracks over 1/8 inch wide during your wall inspection, your walls might be structurally compromised. Remember, homes in flood-prone areas face similar issues affecting their structural integrity. Don’t ignore it.
Conclusion
In the world of home maintenance, an ounce of prevention is worth a pound of cure. By following these DIY water damage cleanup techniques, you can effectively restore your space and protect it from future issues. Regular inspections and prompt action are key to preventing extensive damage and mold growth. Stay proactive, and remember that addressing leaks quickly can save you time, money, and stress. With these strategies in hand, you’re well-equipped to tackle any water-related challenges.